Spotlight > Collectors > 109
Lisa started collecting a couple years ago, however the decision was made to get more serious and after a few more whistles and three books, the next step was how to organize them ( about a year after just starting ). After some thought and looking through the ‘collections’ section the following designed rack was built. Lisa kindly ( and skillfully ) took step by step pictures and allowed us to publish it. The following is her story…
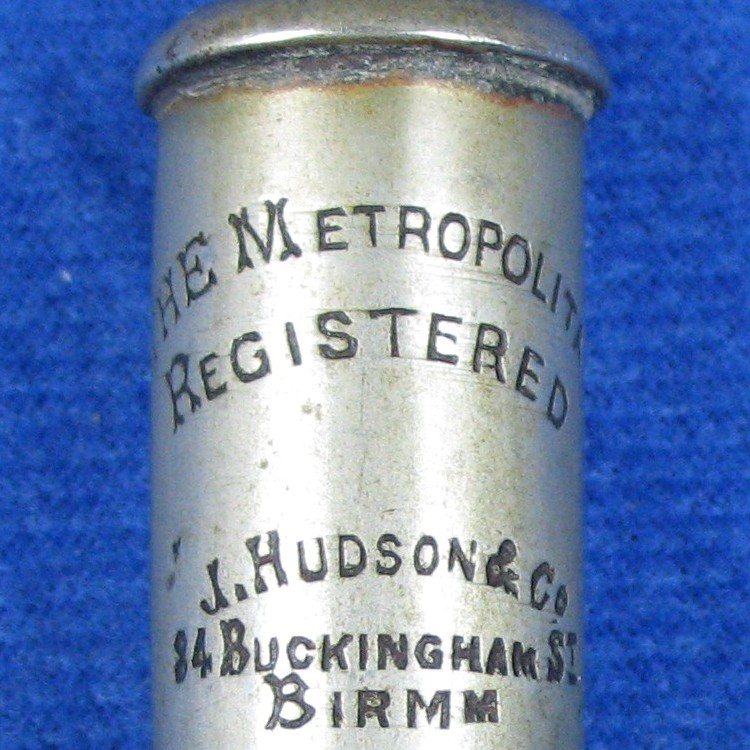
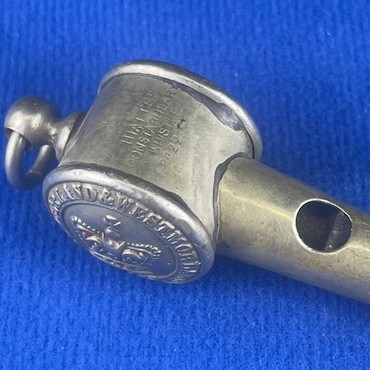
I’ve always like whistles but never considered collecting them until a couple of years ago. I had gotten a few here and there but had no idea how many people liked them as much as I did. I got a couple of them from TWG, maybe two-three years ago and then a couple more last year. Then this year at the expo show, I got the little round one with the good sound 🙂 and a few others. It was official at that moment – I was hooked!
Well the whistles needed a home, so I built them a little display shelf. But then when I collected all the whistles I had around the house and the new ones I purchased from TWG; the whistles needed a better place to live. So, I started the bigger and better designed shelf.
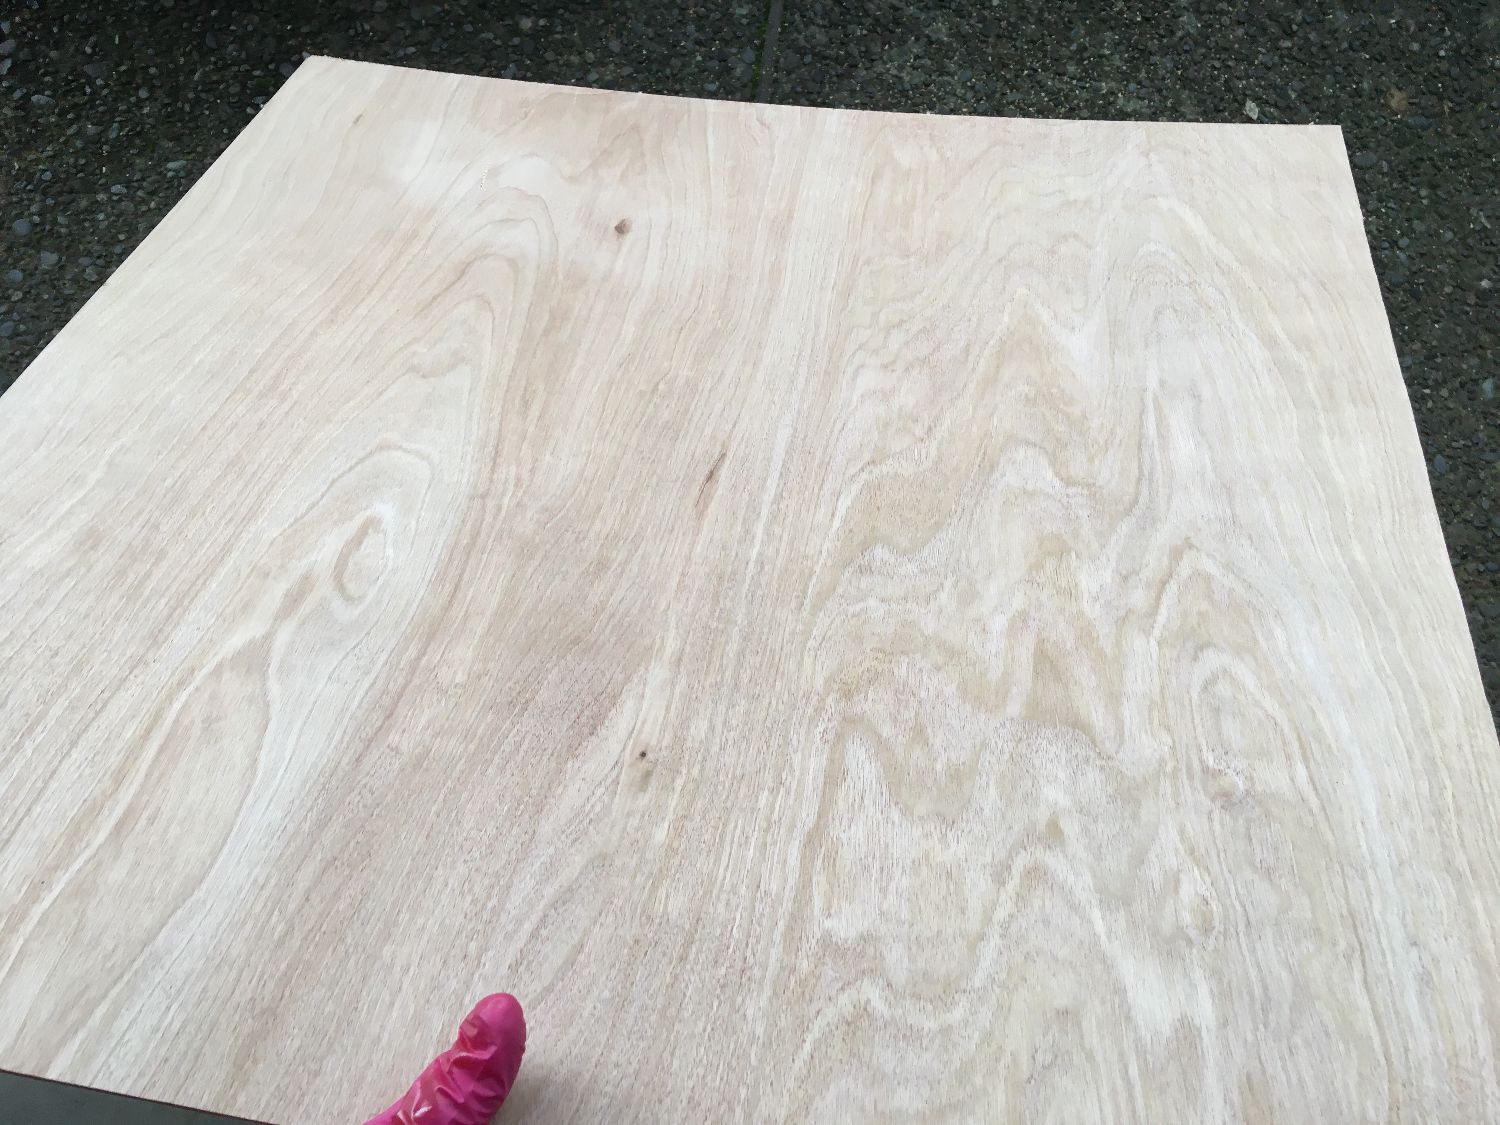
I sketched out my idea and went to a lumber mill. Bought an oak plank, which is much cheaper than going to hardware store or big box store, and you get better wood. A friend has a wood shop in his garage, and he let me use his tools to plane, cut and rip the board into strips. Then at home I sanded, finished, and stained the pieces. I built the frame first, then I worked on the cross members.
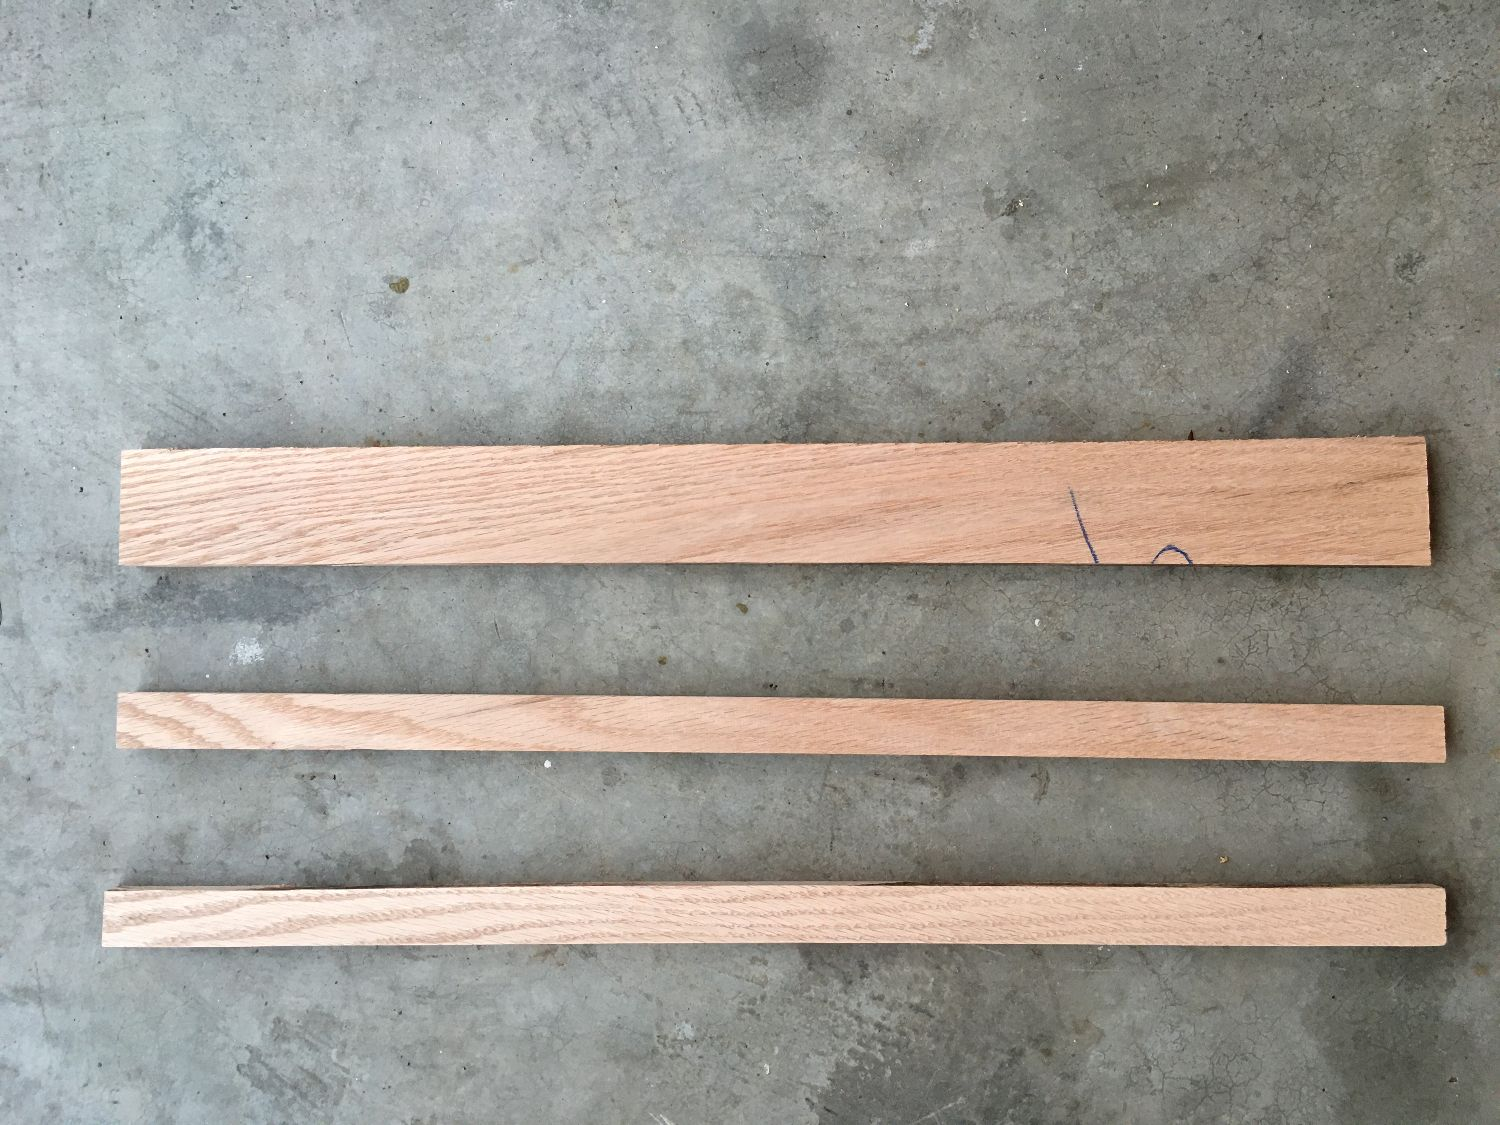
planed sheet ripped into strips
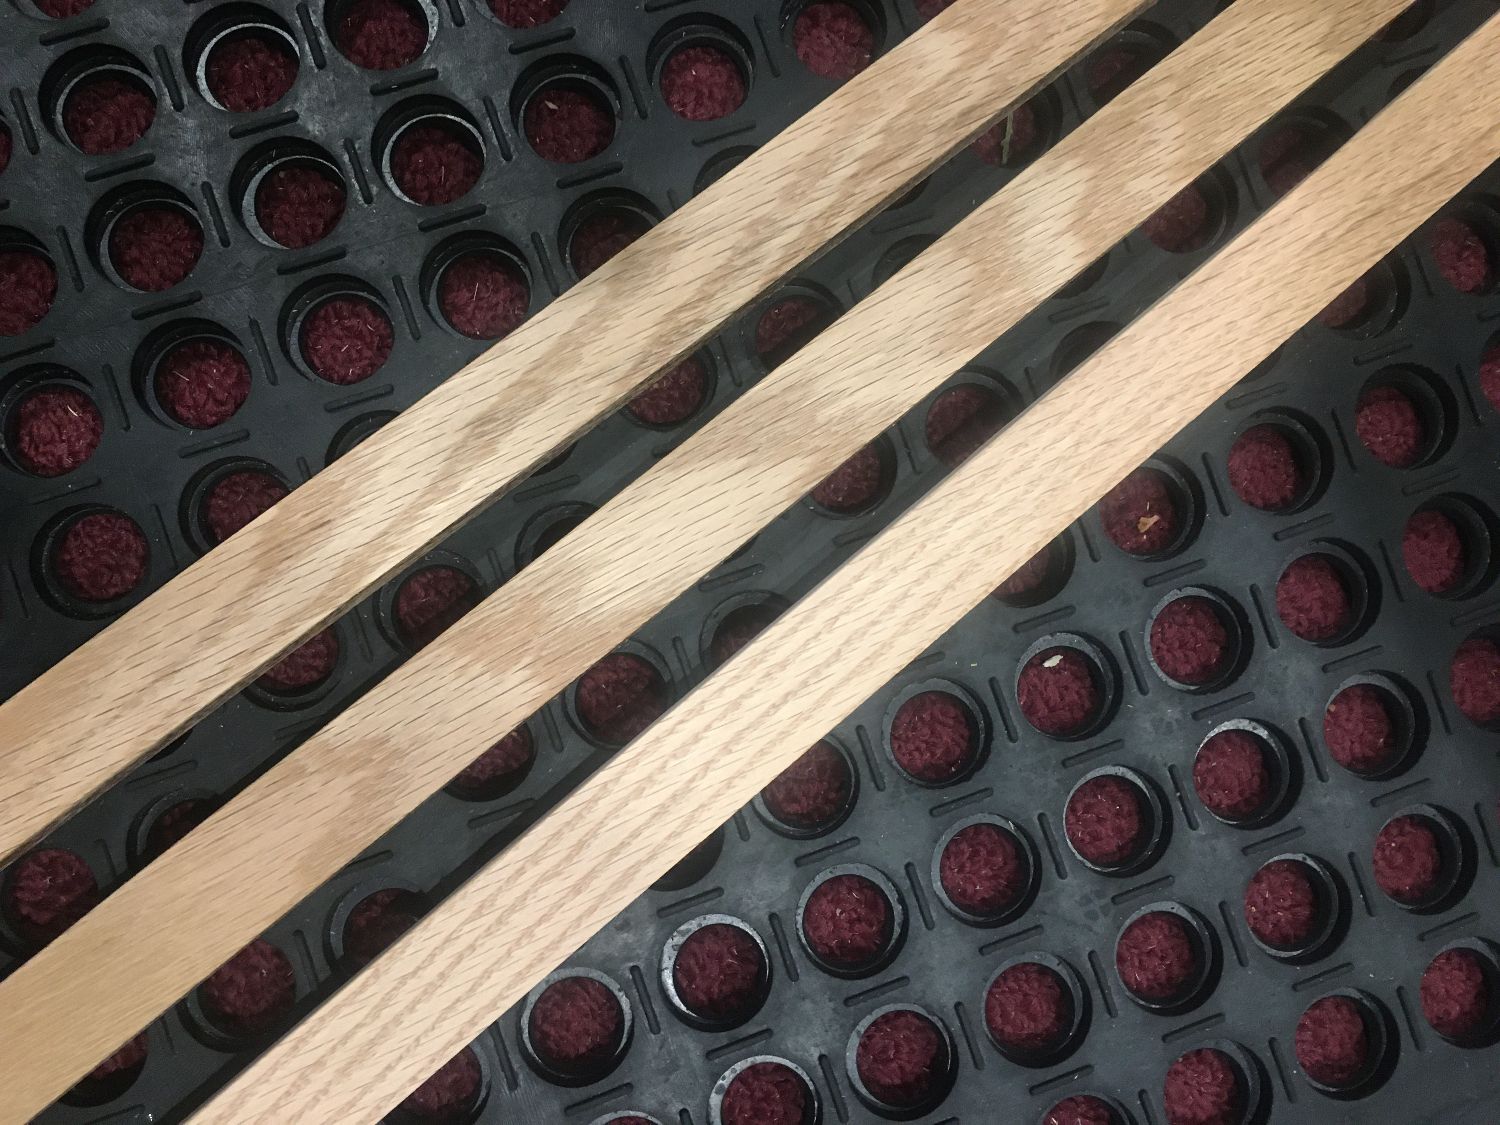
sanded the strips
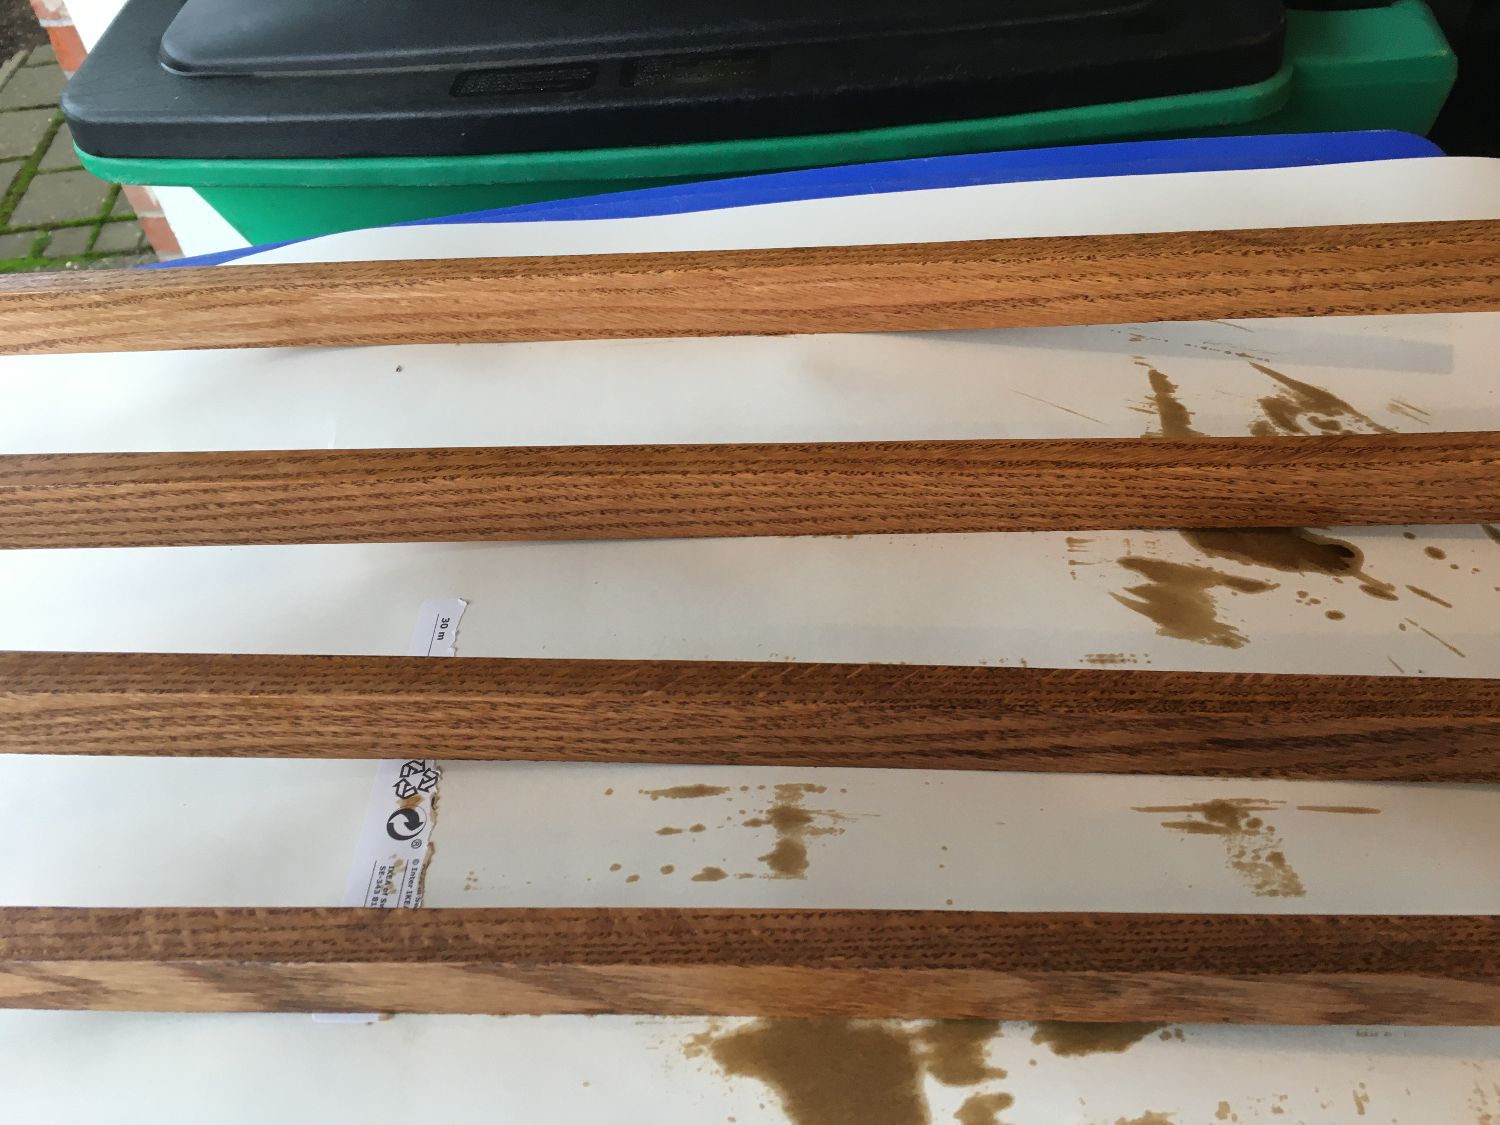
stained the cross members
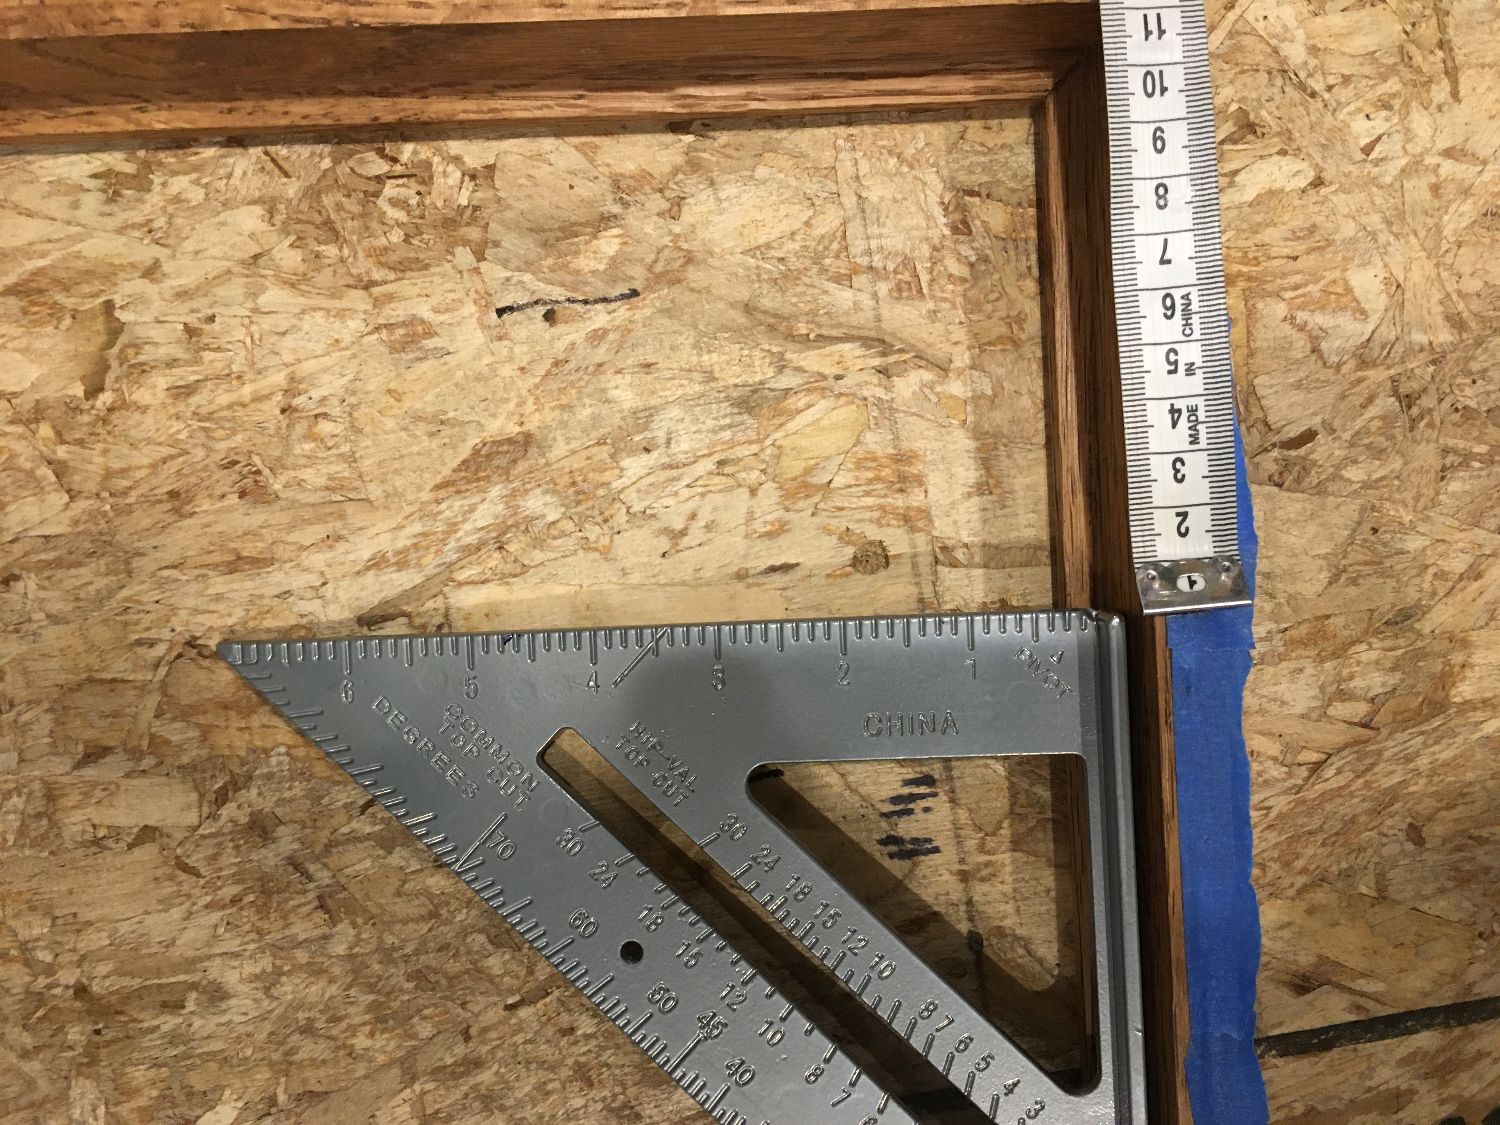
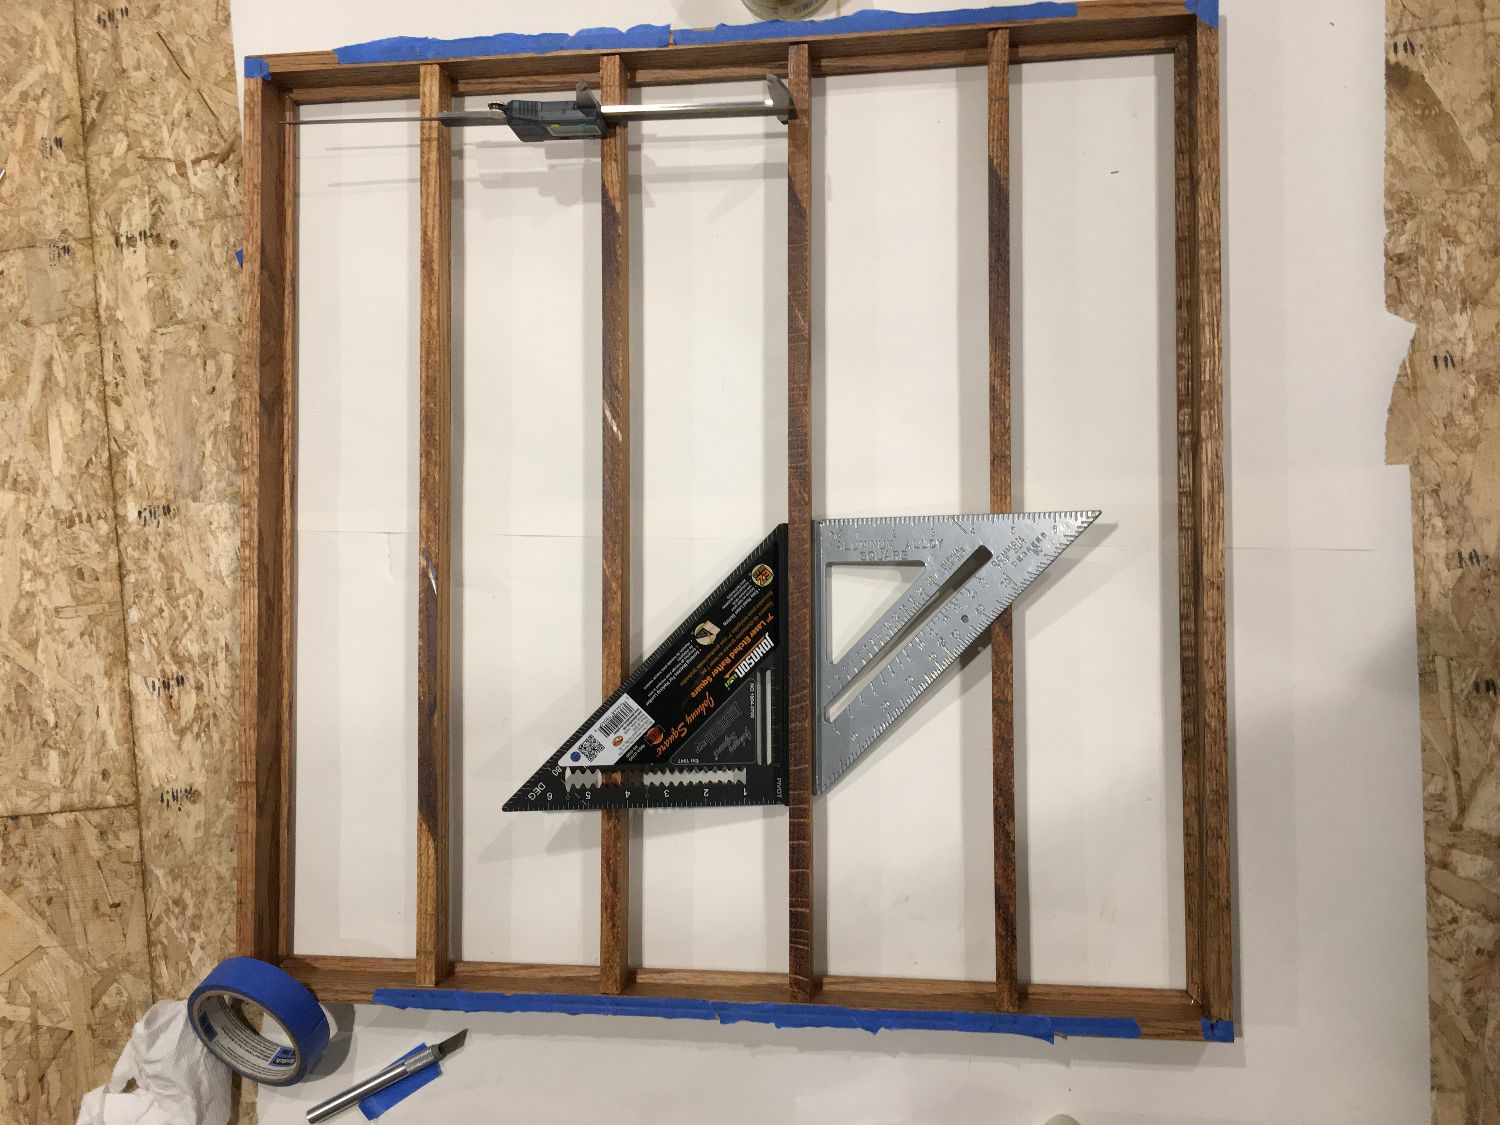
keeping the lines square
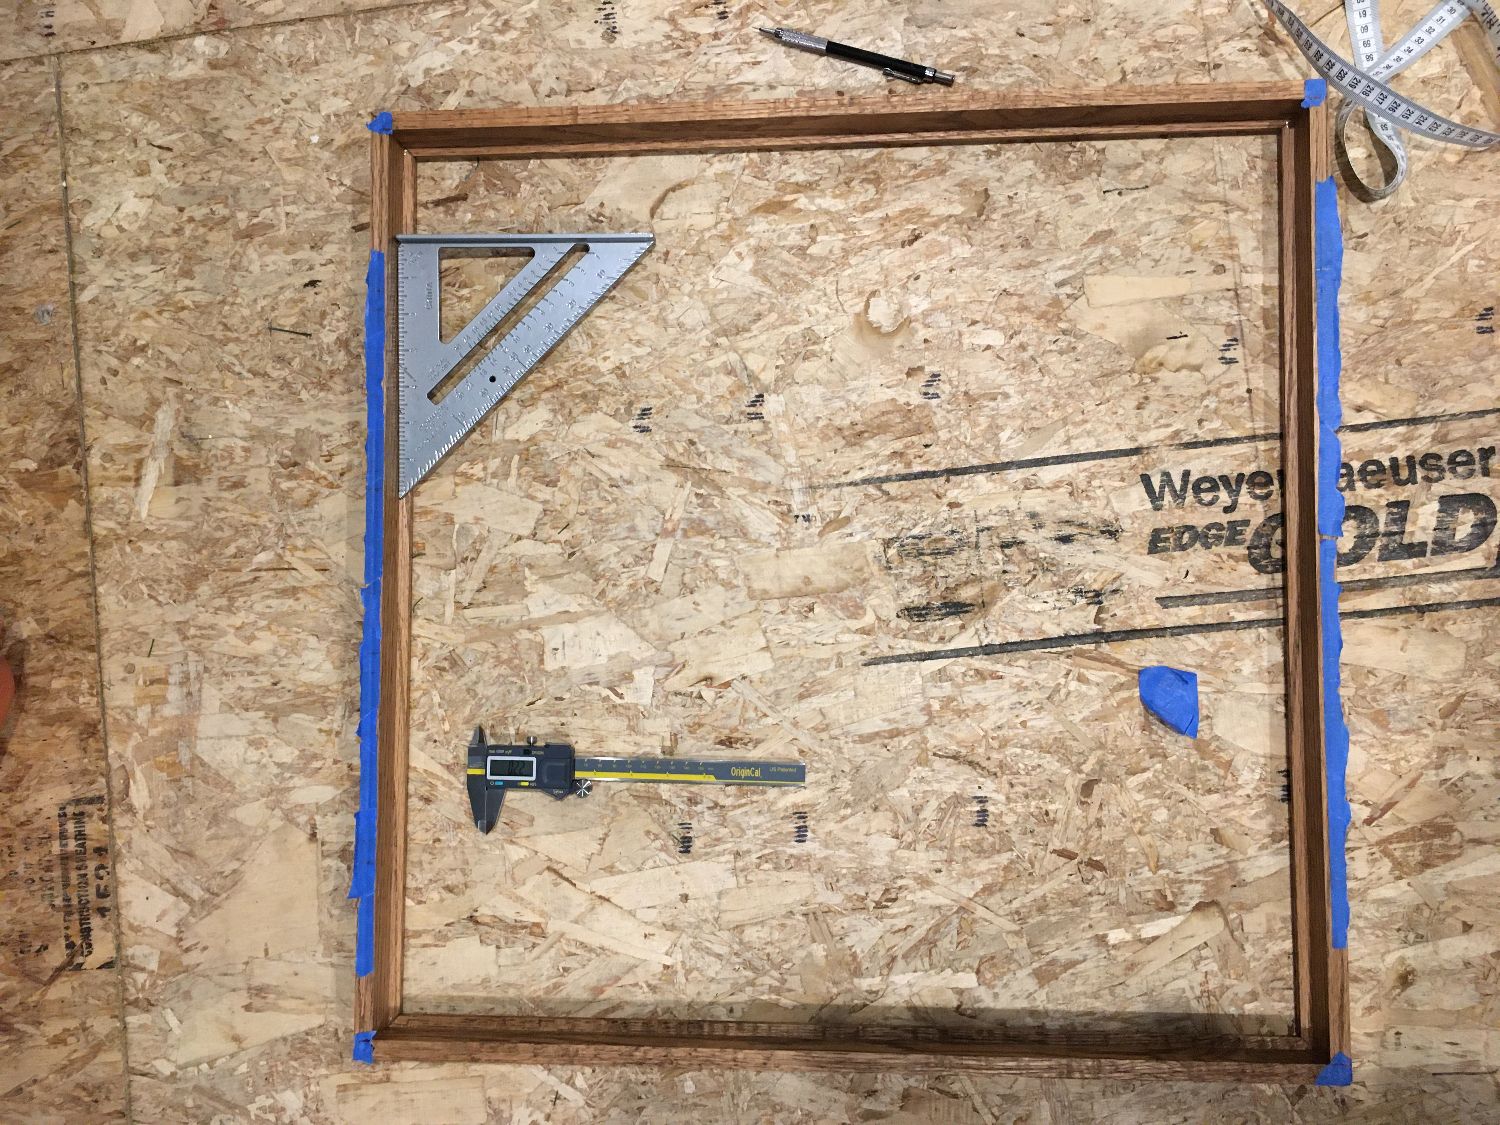
using blue tape to mark lines
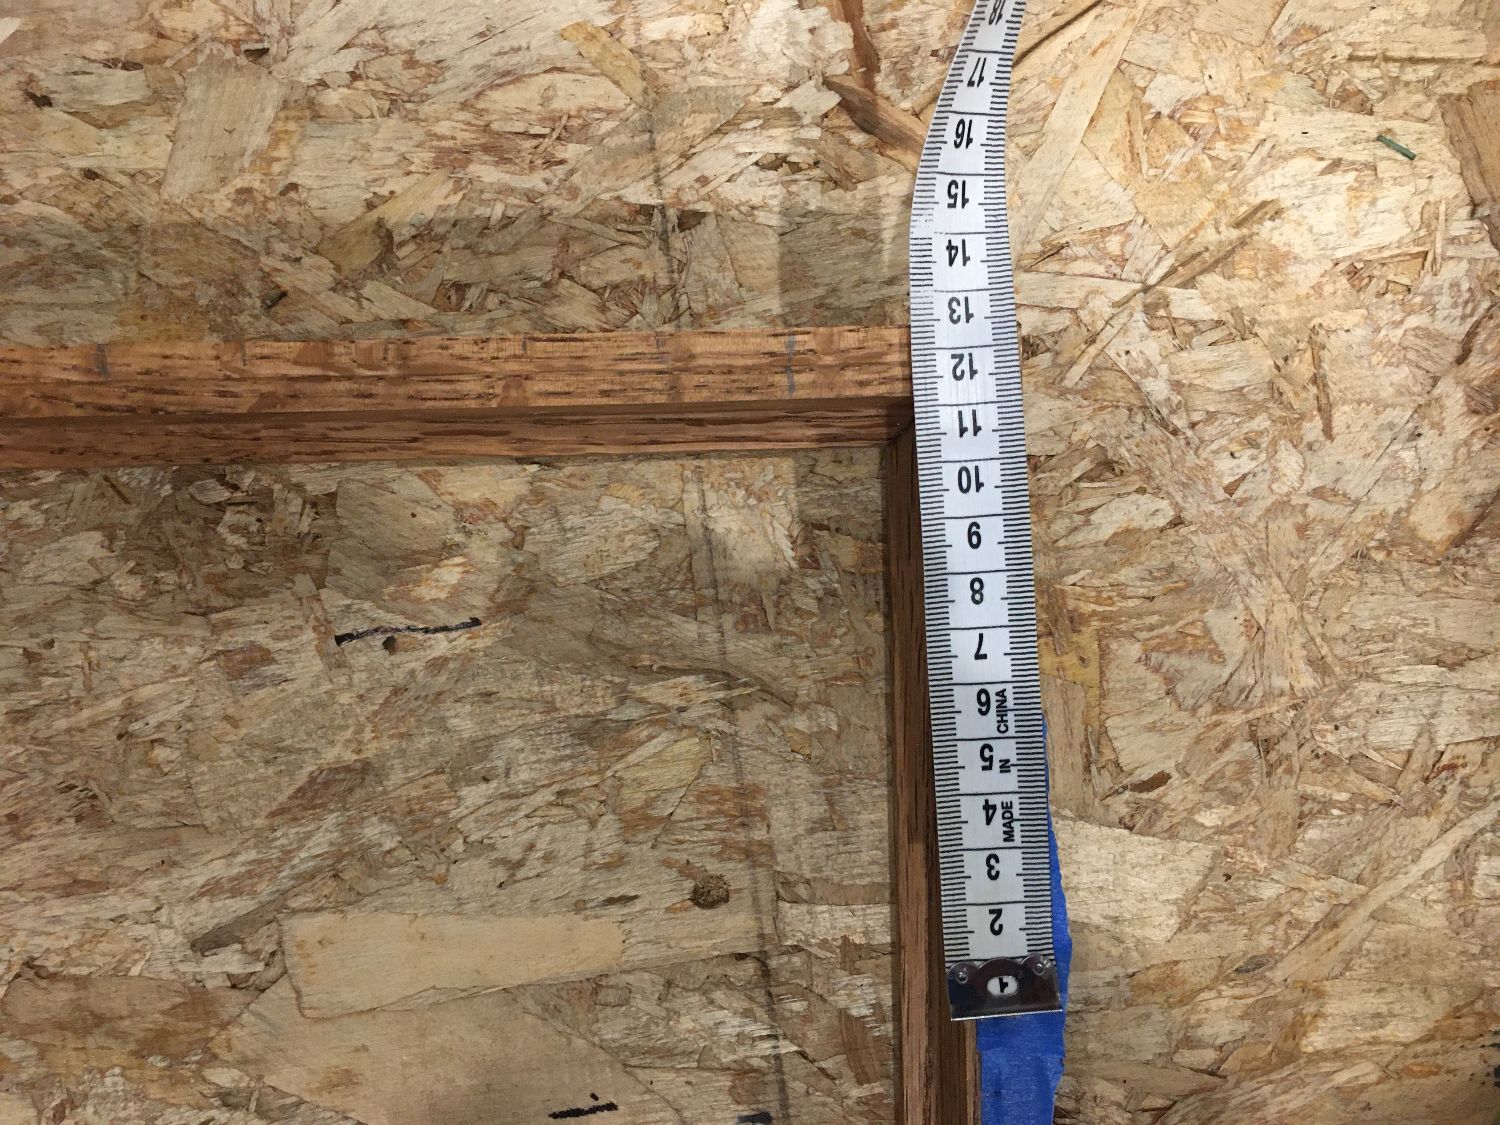
measuring for cross pieces.
marking location of cross pieces
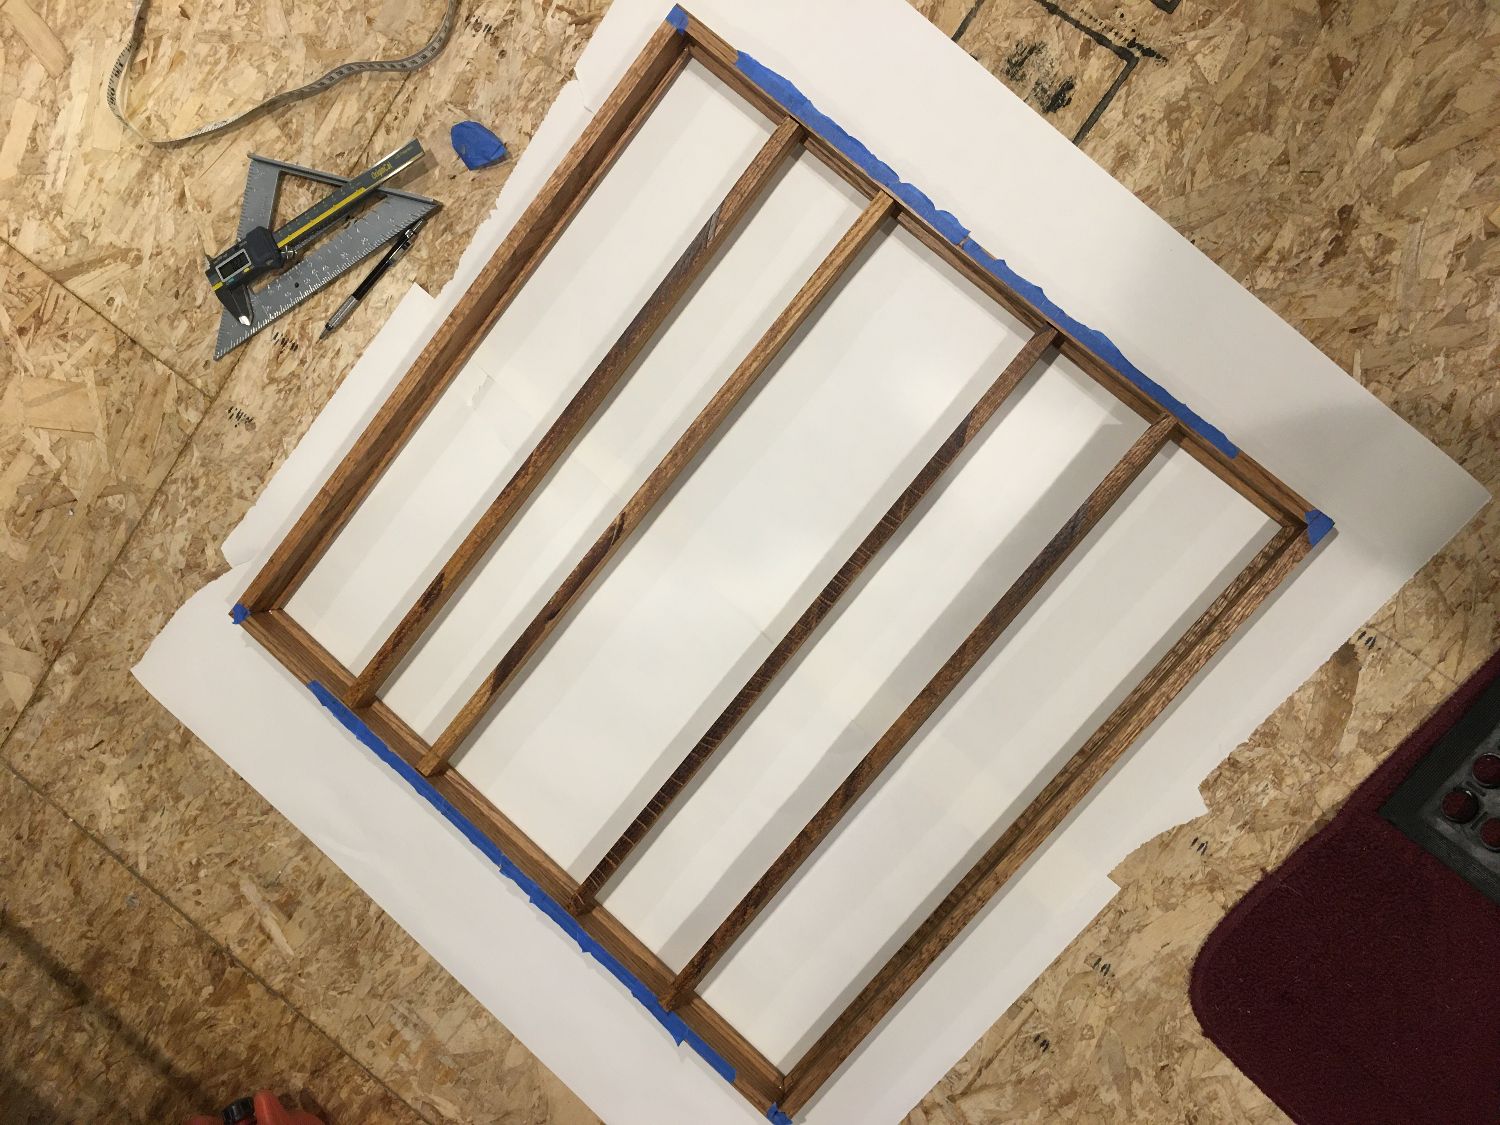
getting ready to glue in cross bars
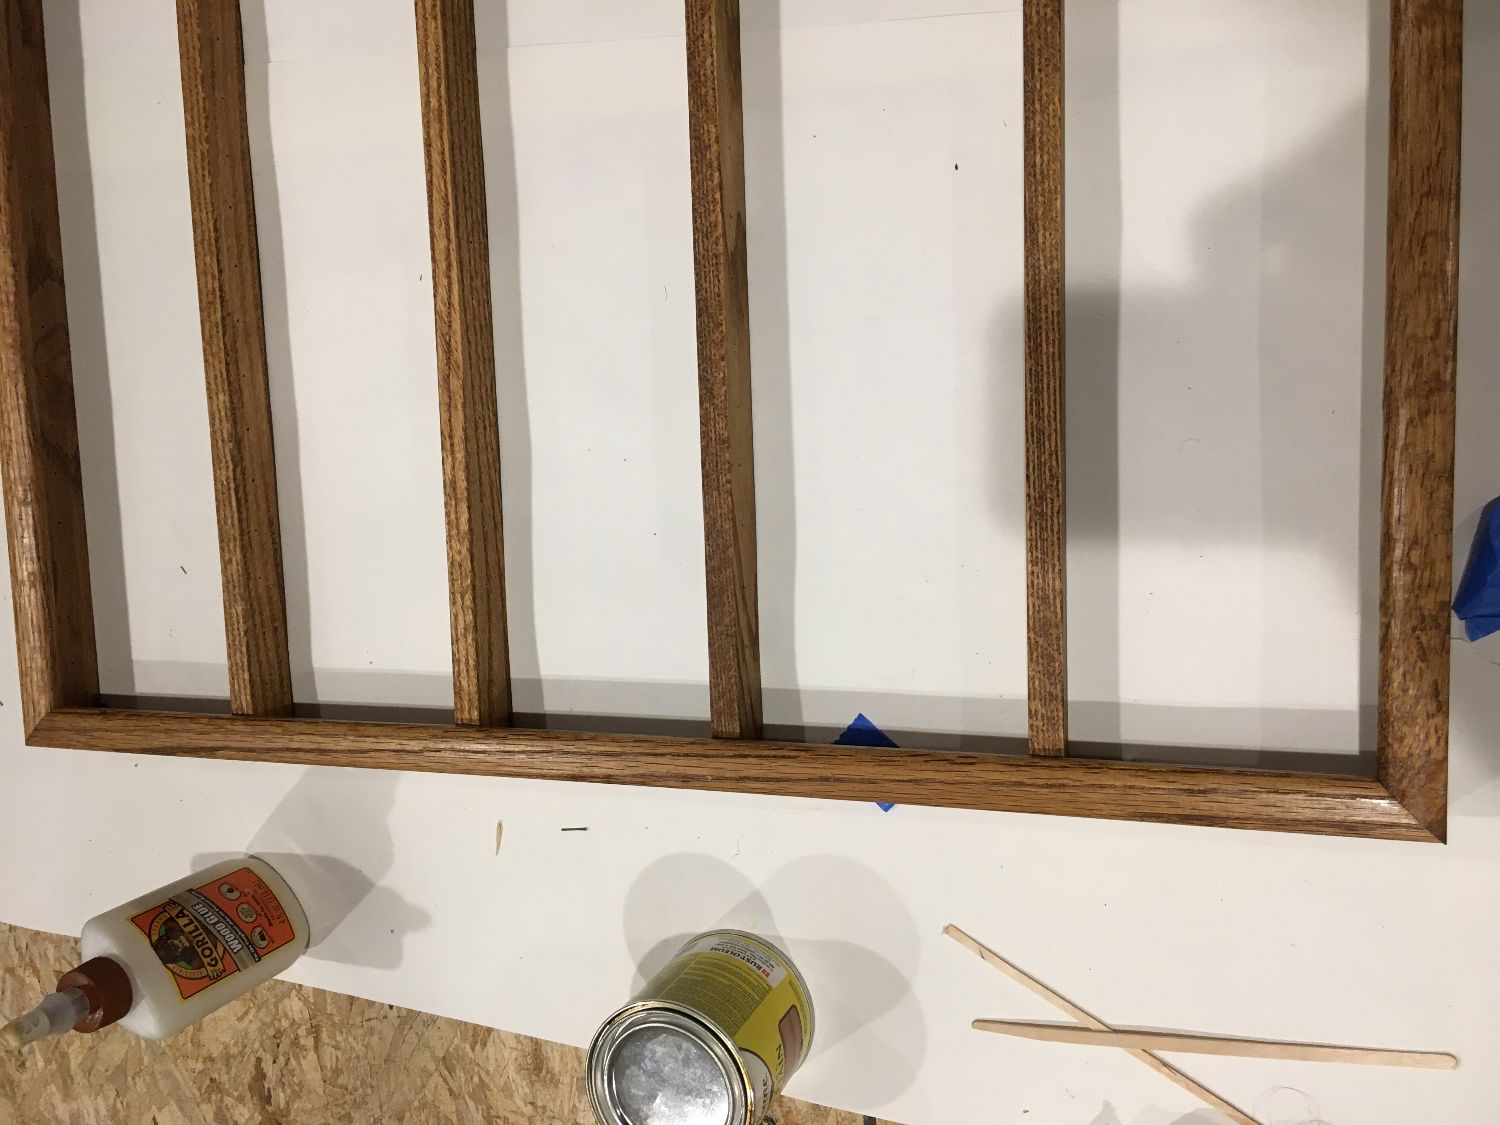
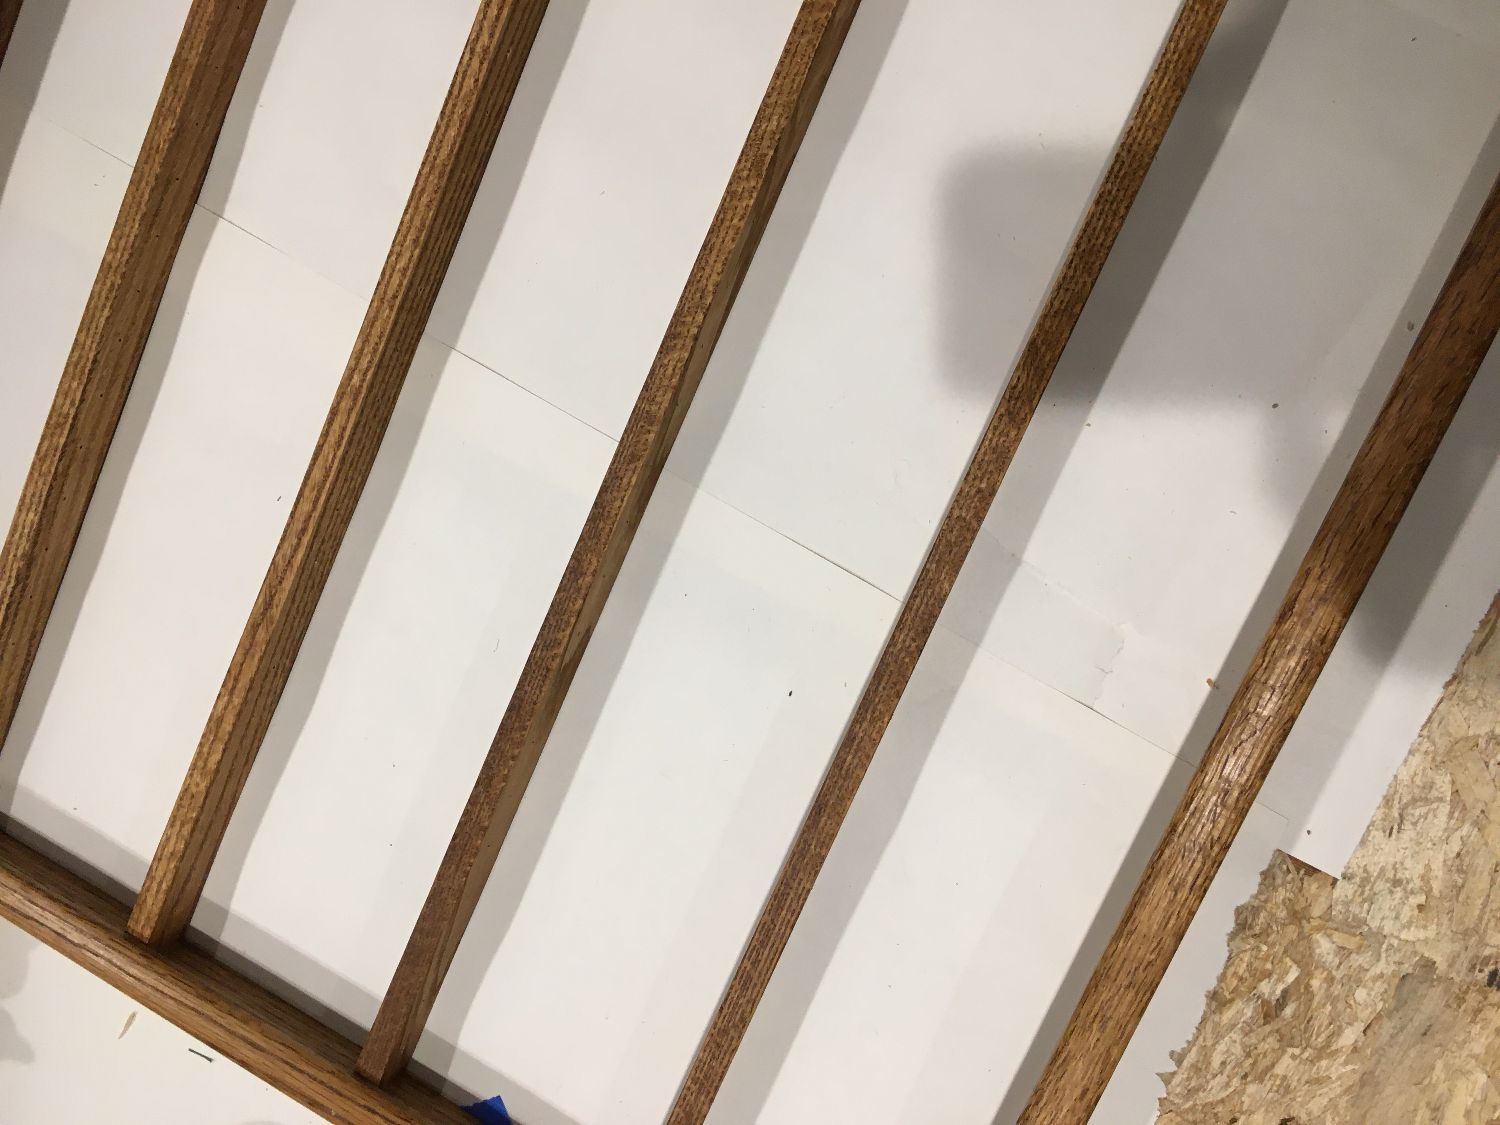
checking the grain lines up
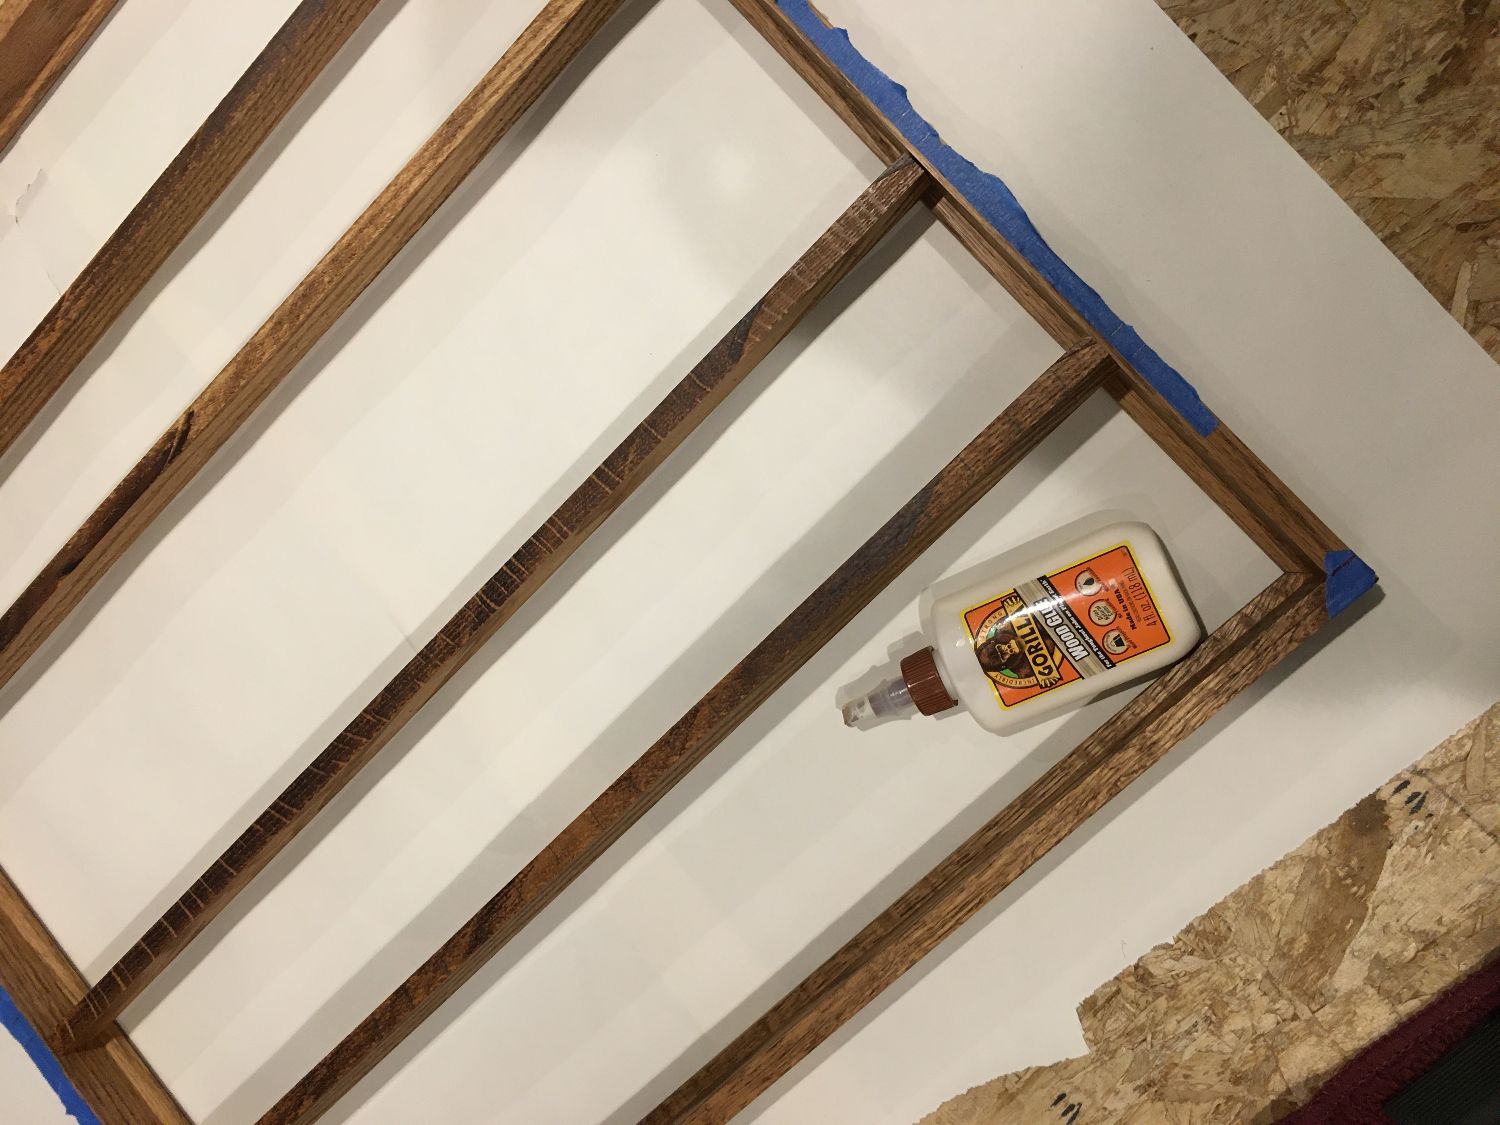
gorilla glue my favorite
keeping bars square
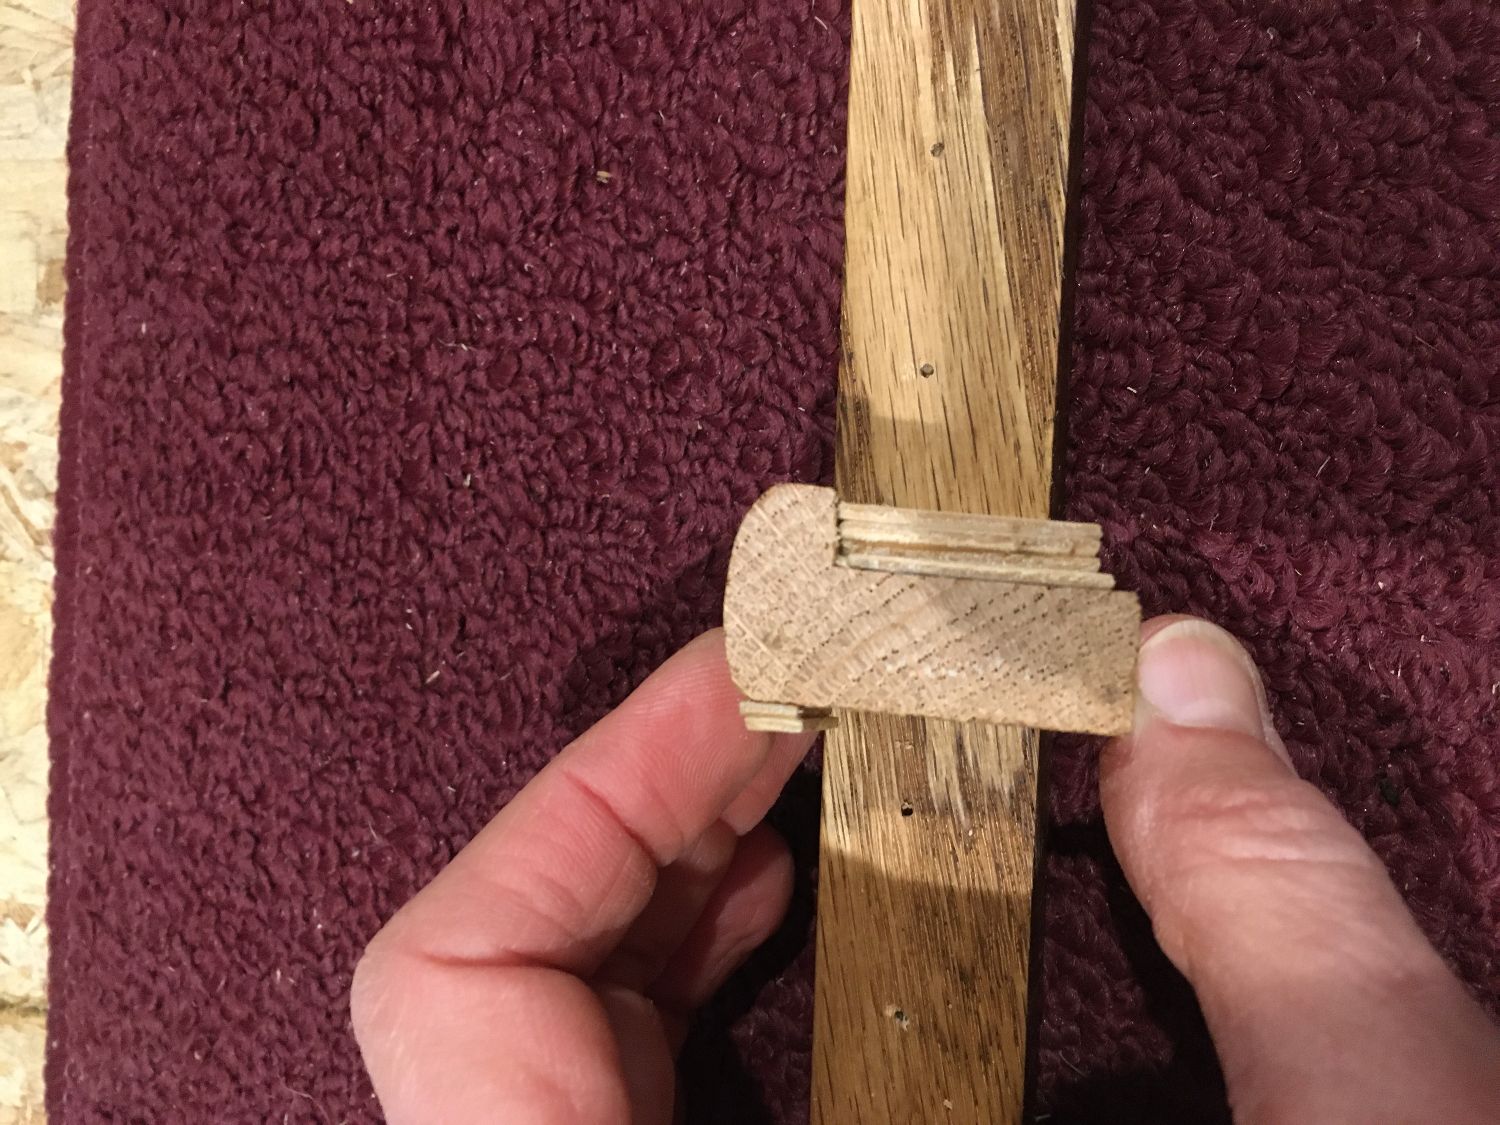
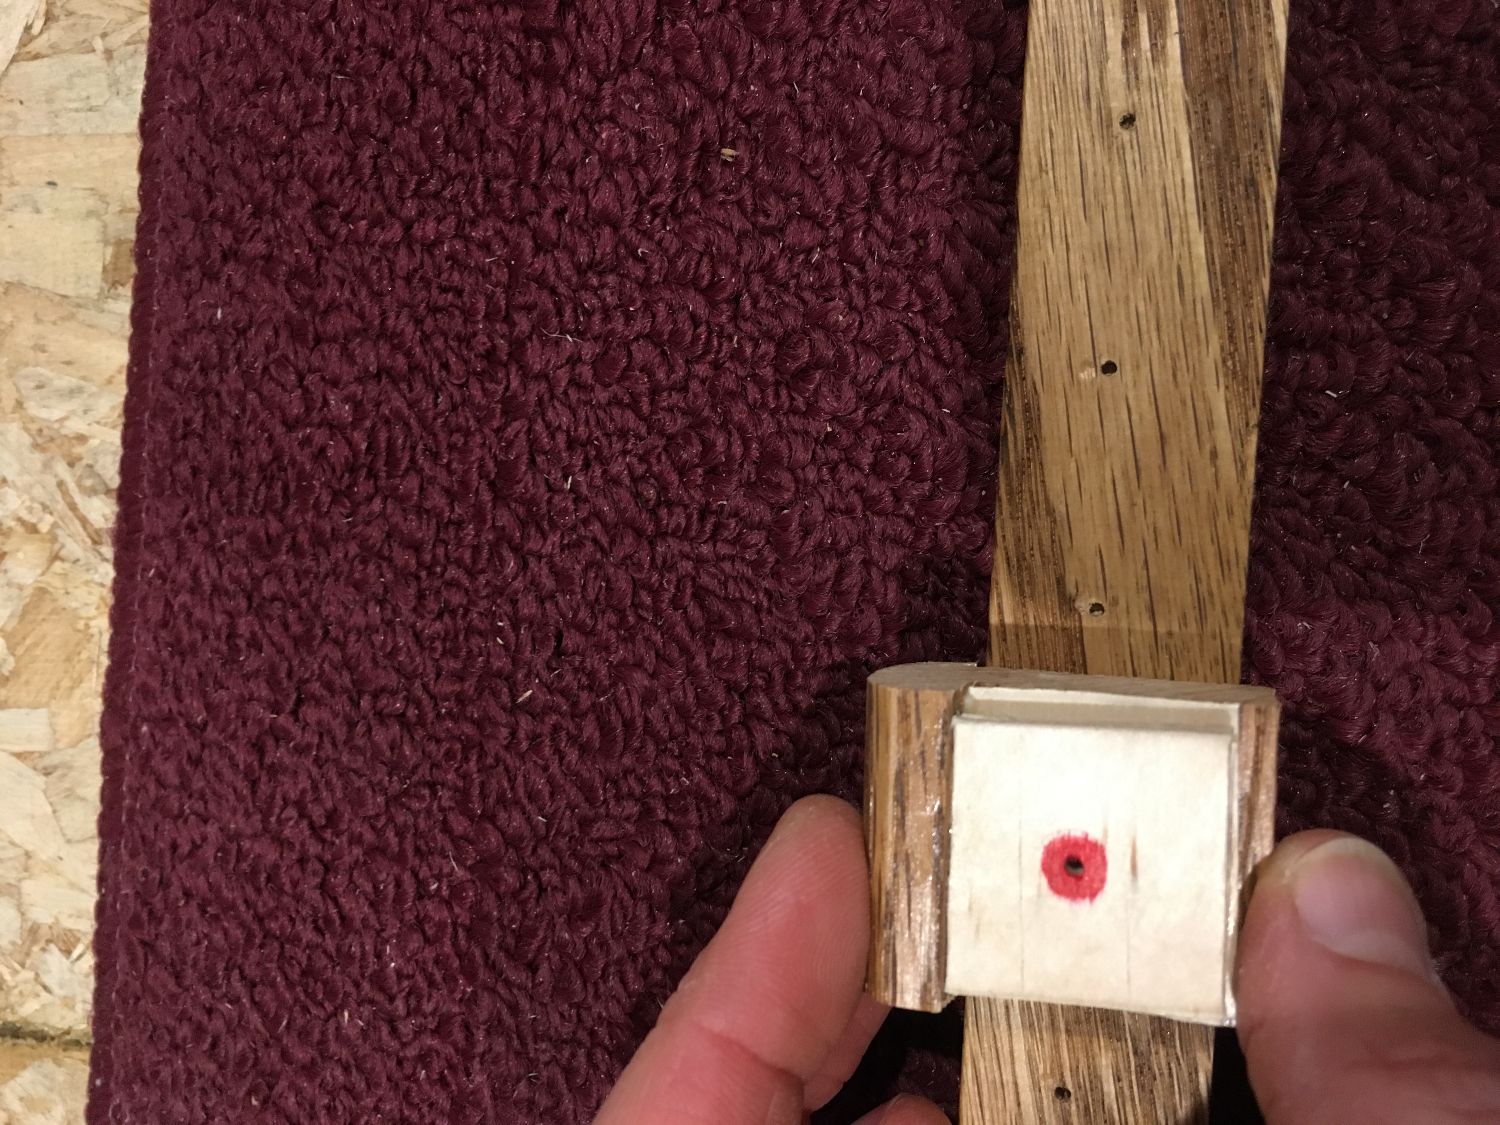
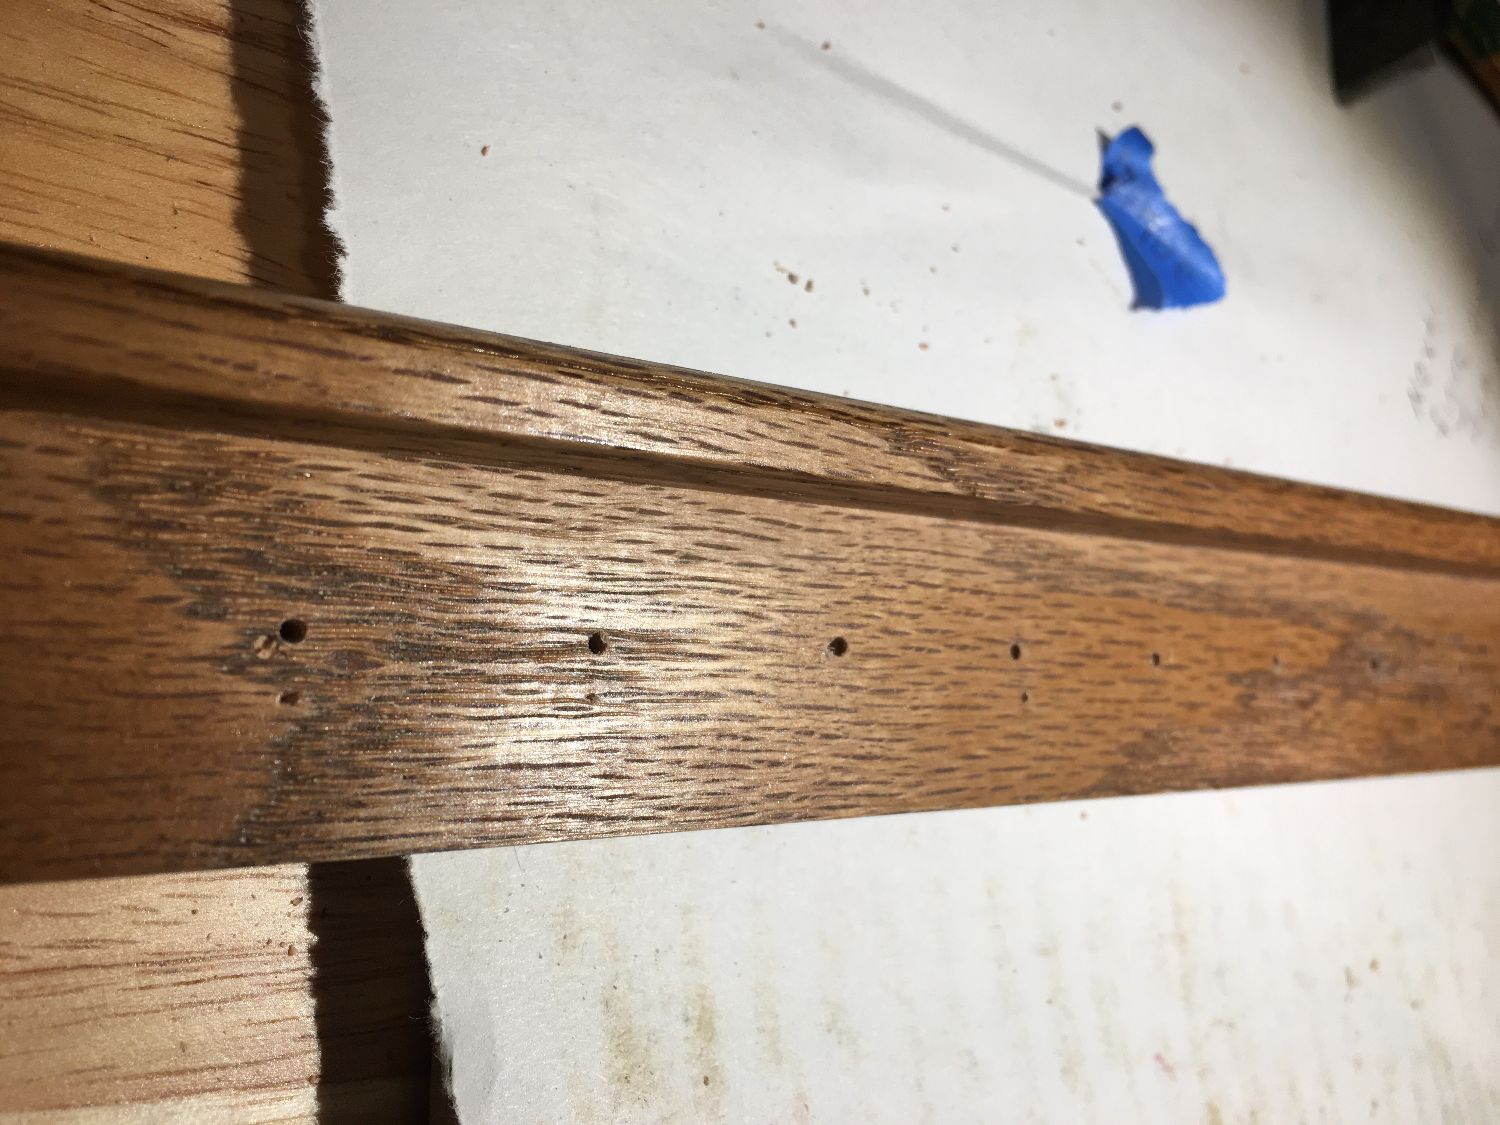
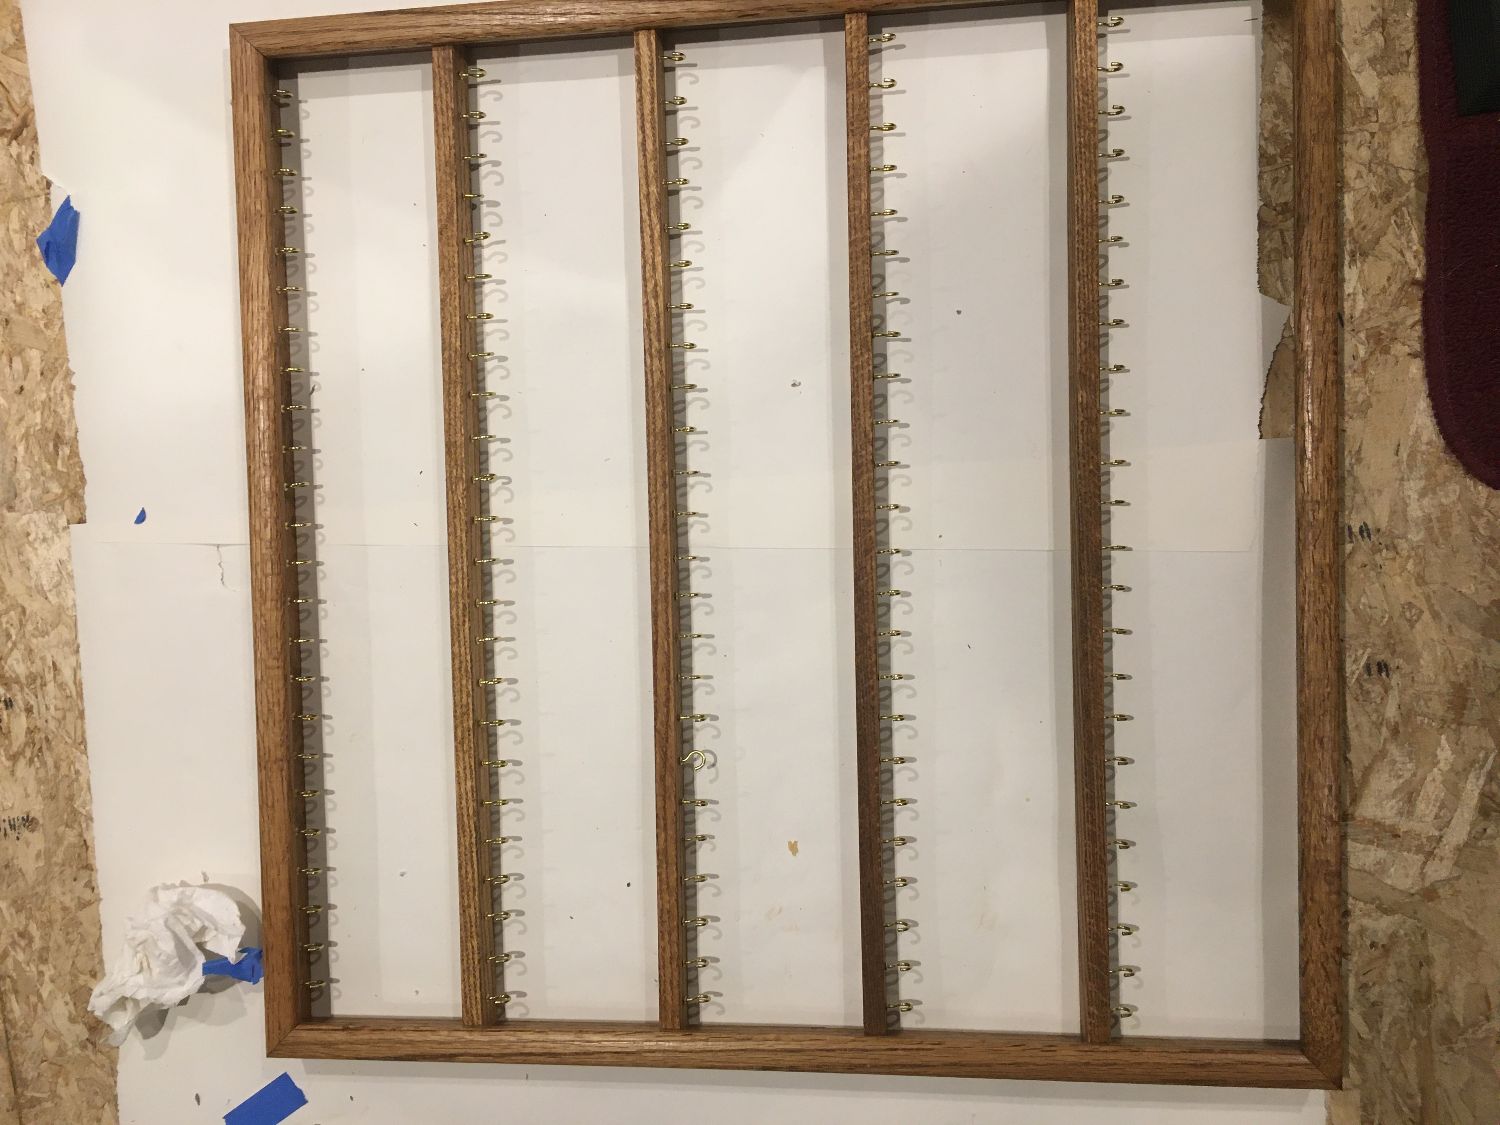
I wanted the holes to all line up evenly, so I made a jig. It was OK, but it wasn’t perfect, so I kept modifying it until it was easier to use. For the cross pieces, I thought I would make the hooks one inch apart but that left an awkward amount of space on the ends, so I ended up deciding on .973 inches apart, so they were spaced evenly. Some blue tape and a caliper helped me mark the spacing. I used a tiny punch to mark and start the holes. Then I used the jig to get the pilot holes started. I used my other jig to get the holes to the correct depth, so I didn’t drill all the way through (which I did a couple of times on the first shelf I built – oops)
a jig to keep all the holes in a tidy line
trying the jig to make pilot holes
experimenting with making a jig

marked the distance between the holes
using jig to line up holes in cross members
drilling the holes in the cross bars
holes drilled in cross pieces
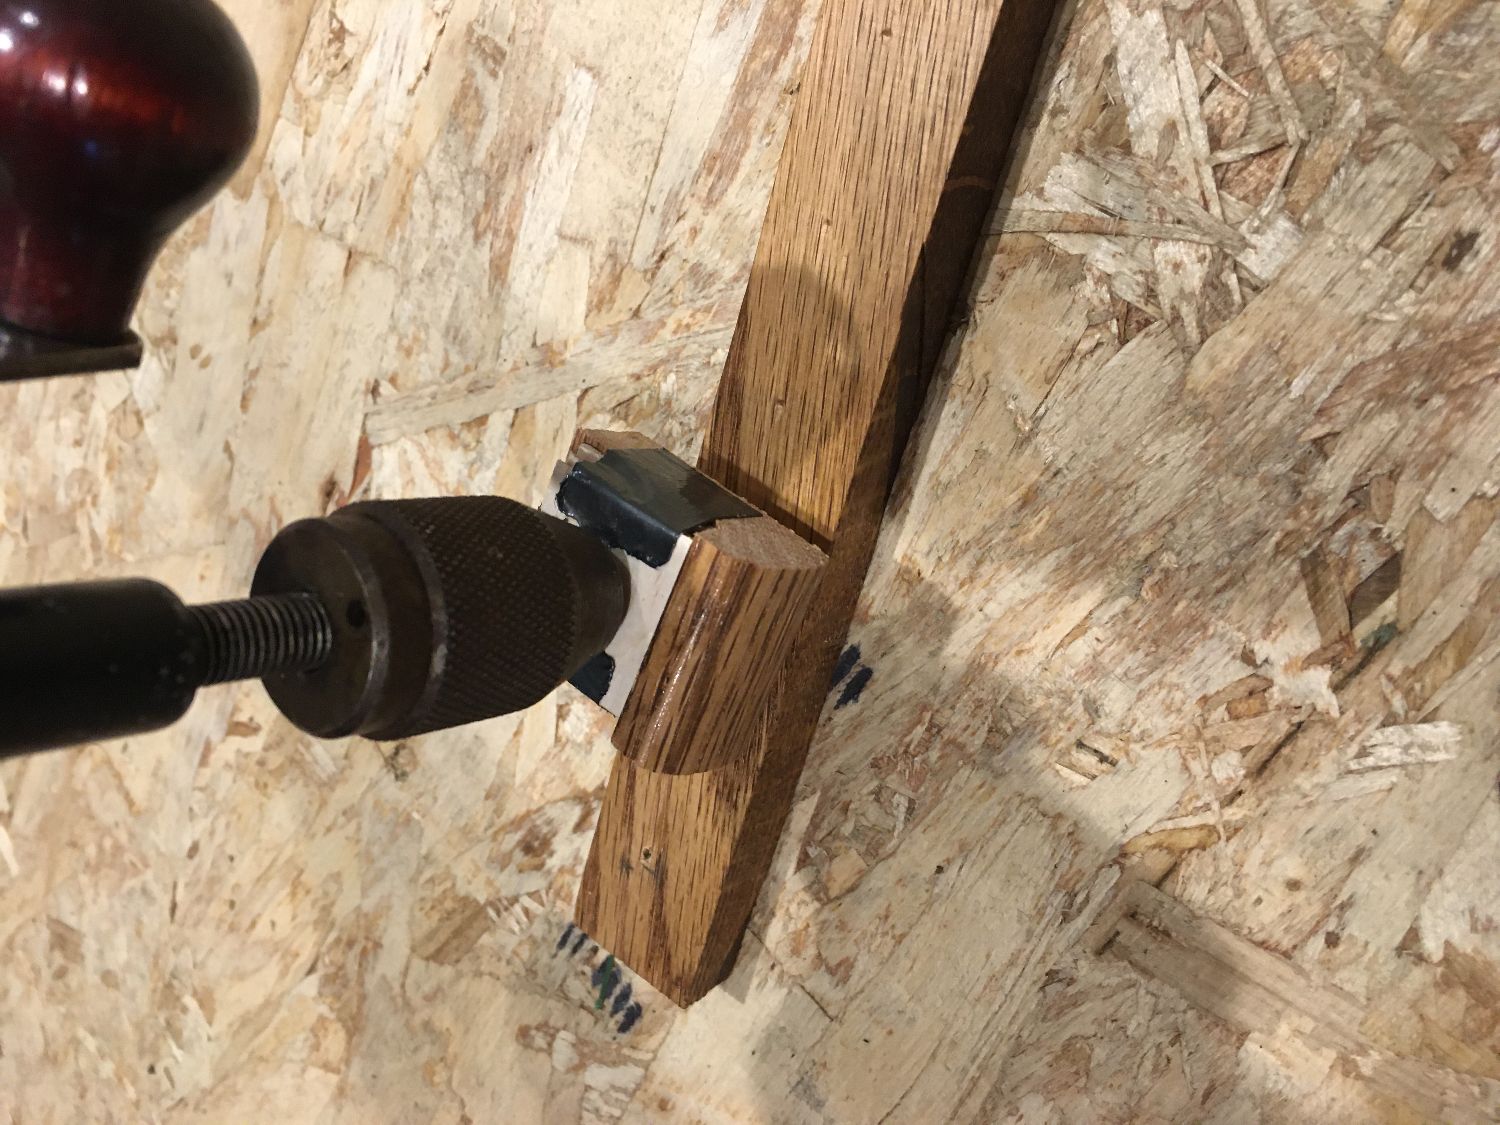
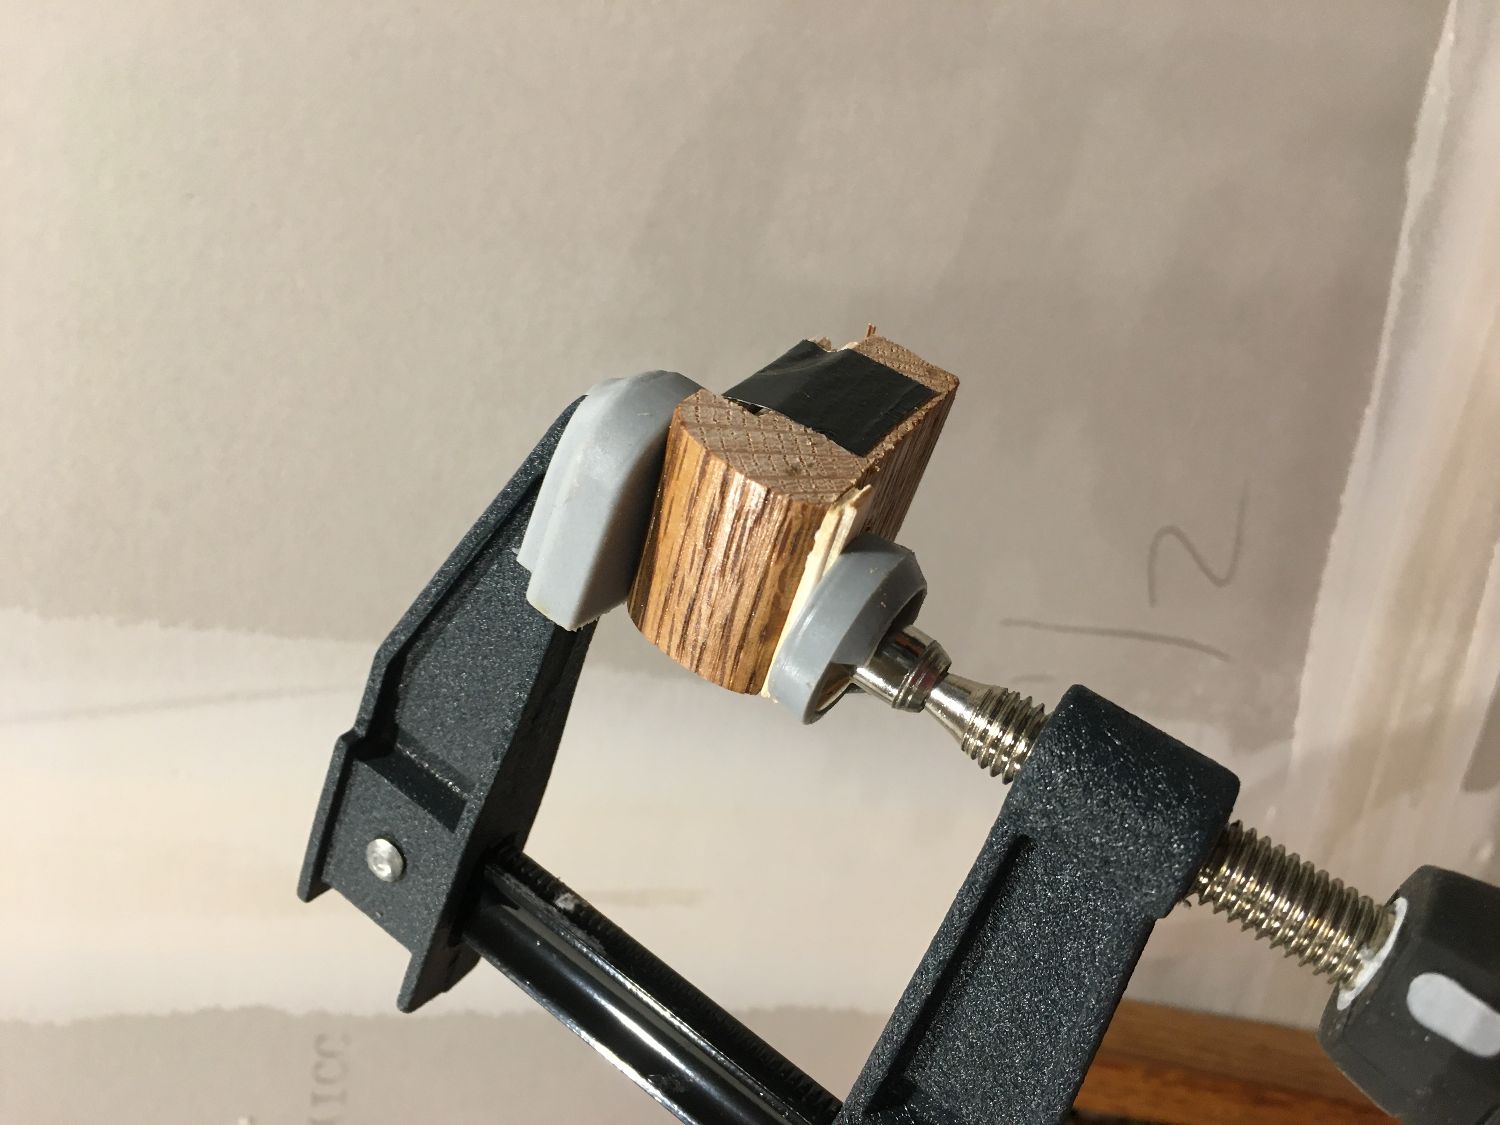
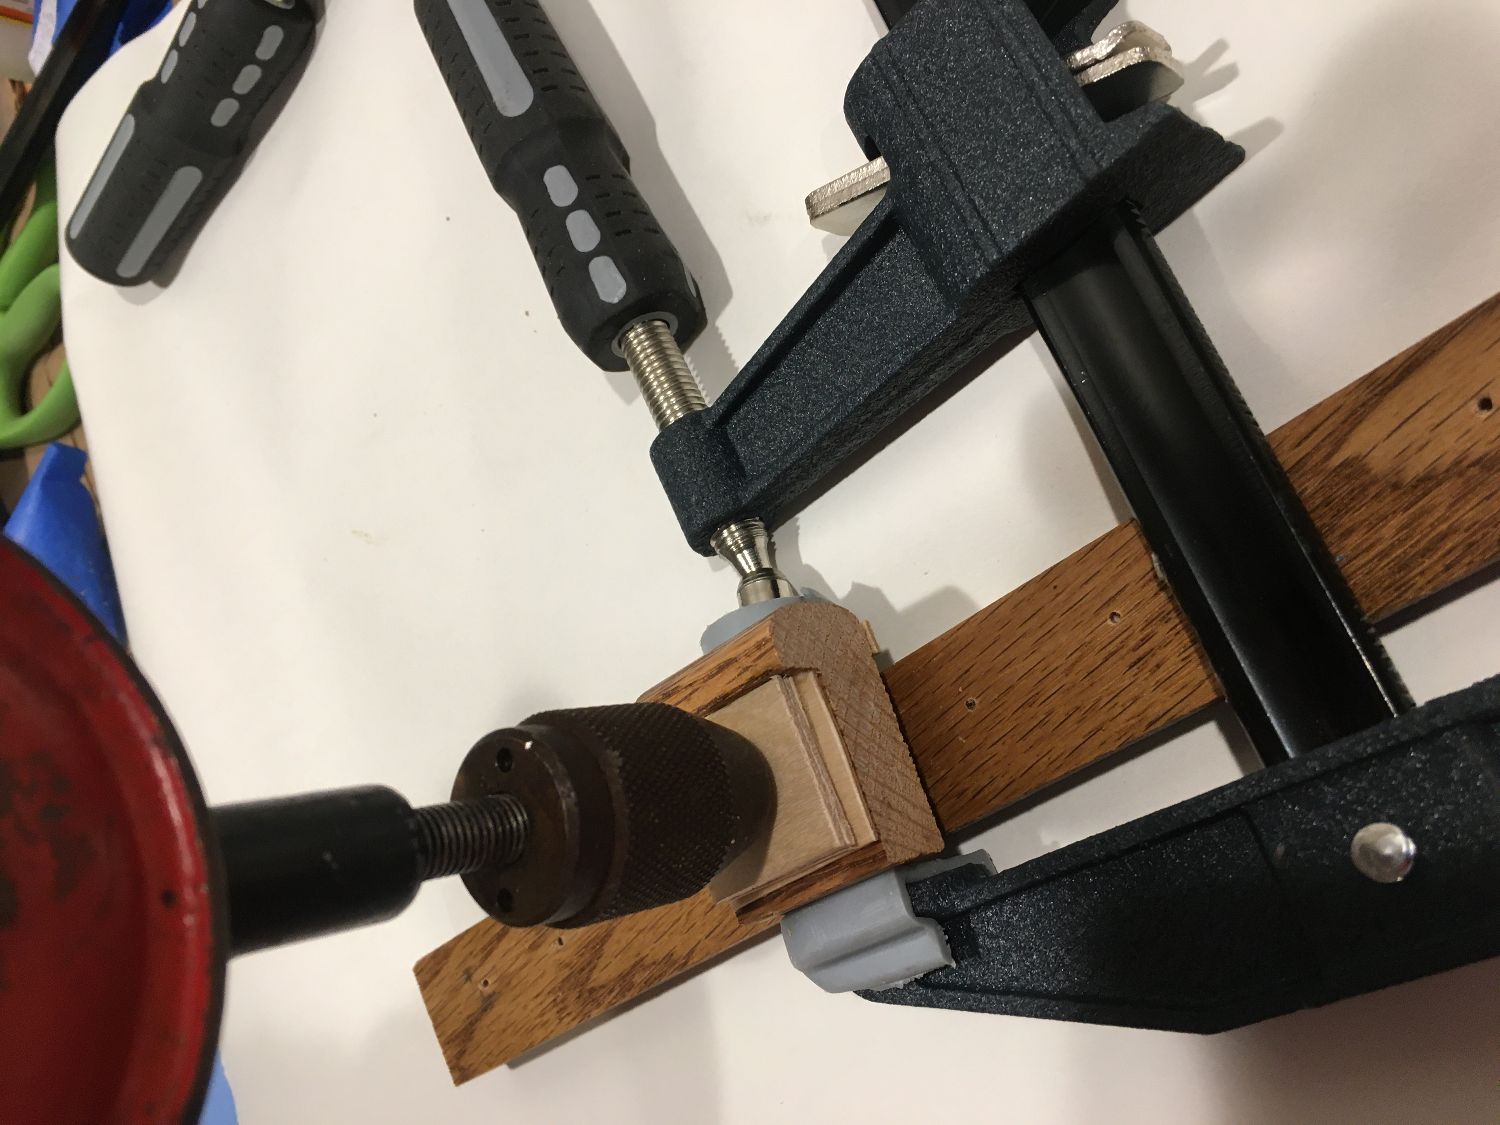
The holes are just the thickness of the brass cup hook shanks, minus the threads. The first shelf, I put the hooks in all by hand but Len had a great idea to use a power drill to set the hooks and I am going to test that on a scrap piece to see how it works.
Today I plan to mark and drill the holes in the underside of the top of the frame. Then the hooks can go in and the glue-fest can begin. Once all that is done, I will add the backing board and some hardware to hang it. I will send more pictures as it progresses. -Lisa
PS IKEA sells a holder and rolls of drawing paper that I love for catching stain, glue etc. It comes as a prefab kit. Takes under 5 minutes to put it together. (looks like a wide paper towel holder except it’s a roll of plain paper). Very handy for keeping the workbench neat. ($7-$8 for the frame, and maybe $5 for the paper).
Next…
Once I had the jig, getting the last row of holes lined up and drilled went quickly. Despite using a caliper there was still a little subtle variation in the spacing between the holes because of pencil line thickness.
Now some calipers, more blue tape to mark where the cross pieces should go, and a tape measure and square and I hope the to be able to start to assemble it. Bedtime.
I got all the pieces stained and assembled it without the glue, only to discover a design flaw.
I had cut the depth of the cross bars so the backing board would be recessed, to make the backing flush with the frame. But that turned out to be a problem because now there was a very small but visible gap where the backing met the frame. and it was almost impossible to glue it in place that way.
Back to the store to buy more backing board. But another problem now presented itself. The first piece of wood I bought was 24 inches wide and that’s the one I cut to fit inside the frame. Because now I wanted to make the backing wide enough to extend to the edges of the frame and it would be a smidge over 24 inches wide. The boards the store had were all two feet wide, or 8 feet wide and my car isn’t eight feet wide.
Finally got the wood home and cut to size. Stained and sanded the new board and another surprise, it took the stain differently and the color didn’t match the rest of the shelf.
cut backing board to size and stained it
sanded off some of the stain and decided it was now close enough in color to use
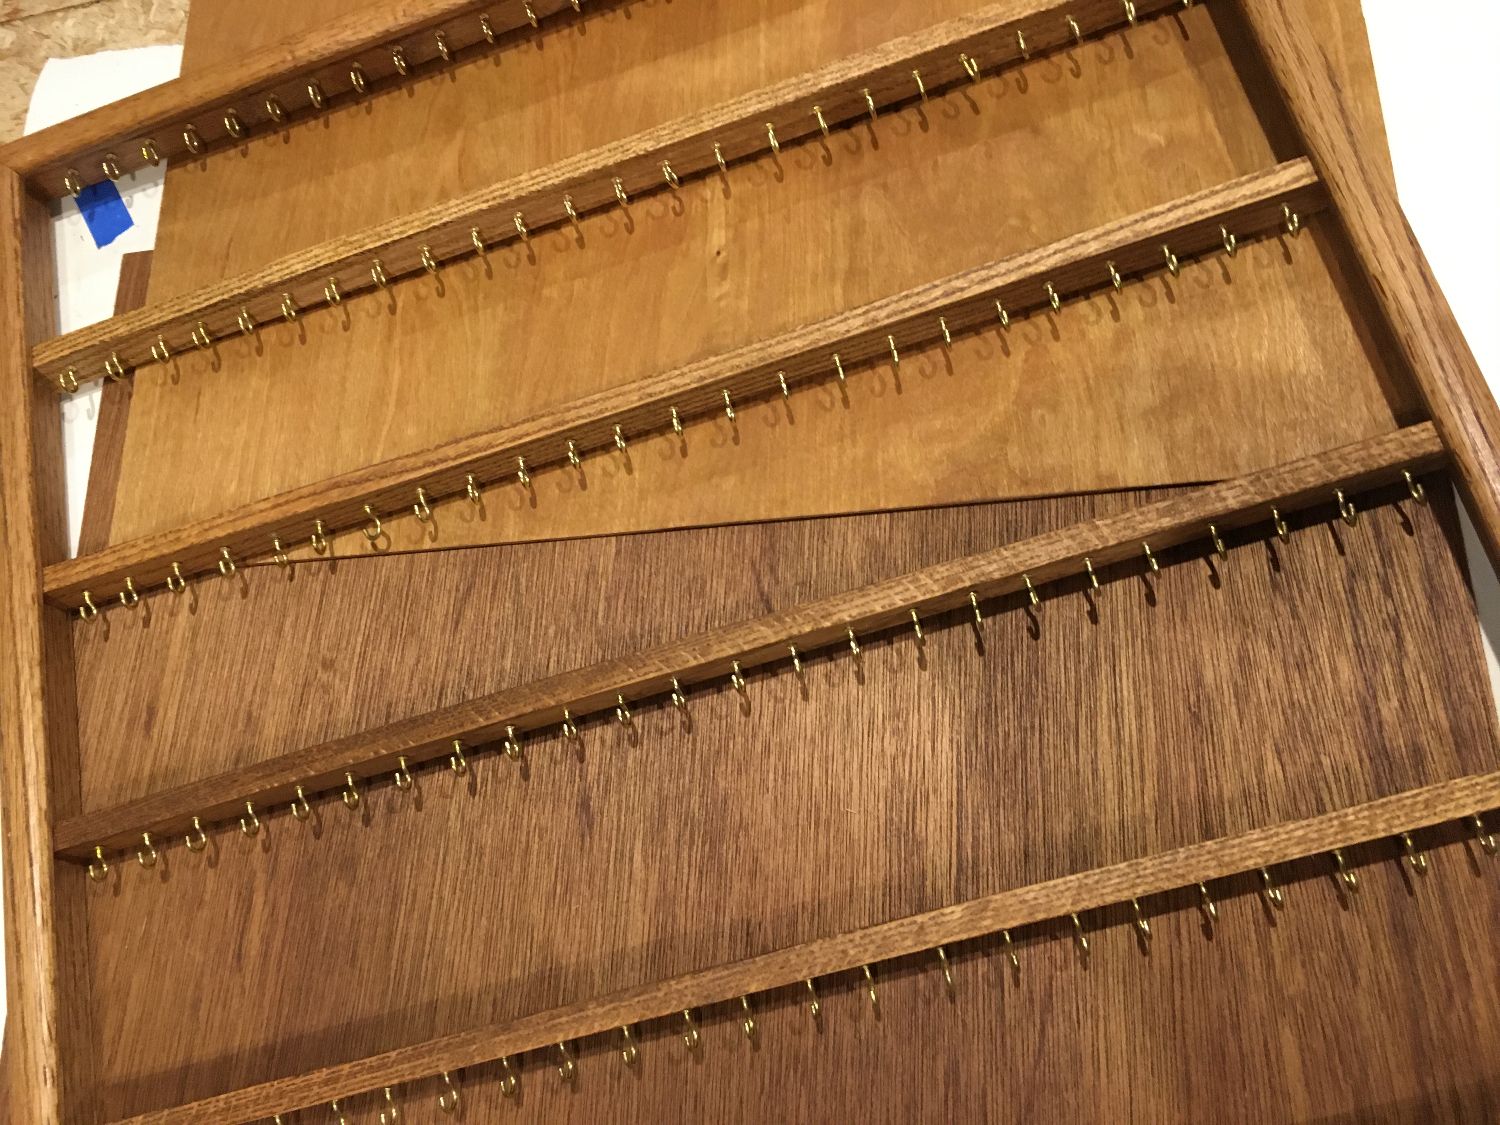
Finally, time to break out my favorite wood glue, some clamps, and my lead diving weights to put it all together. Rechecked the measurement one more time and started gluing in the cross bars, one at a time.
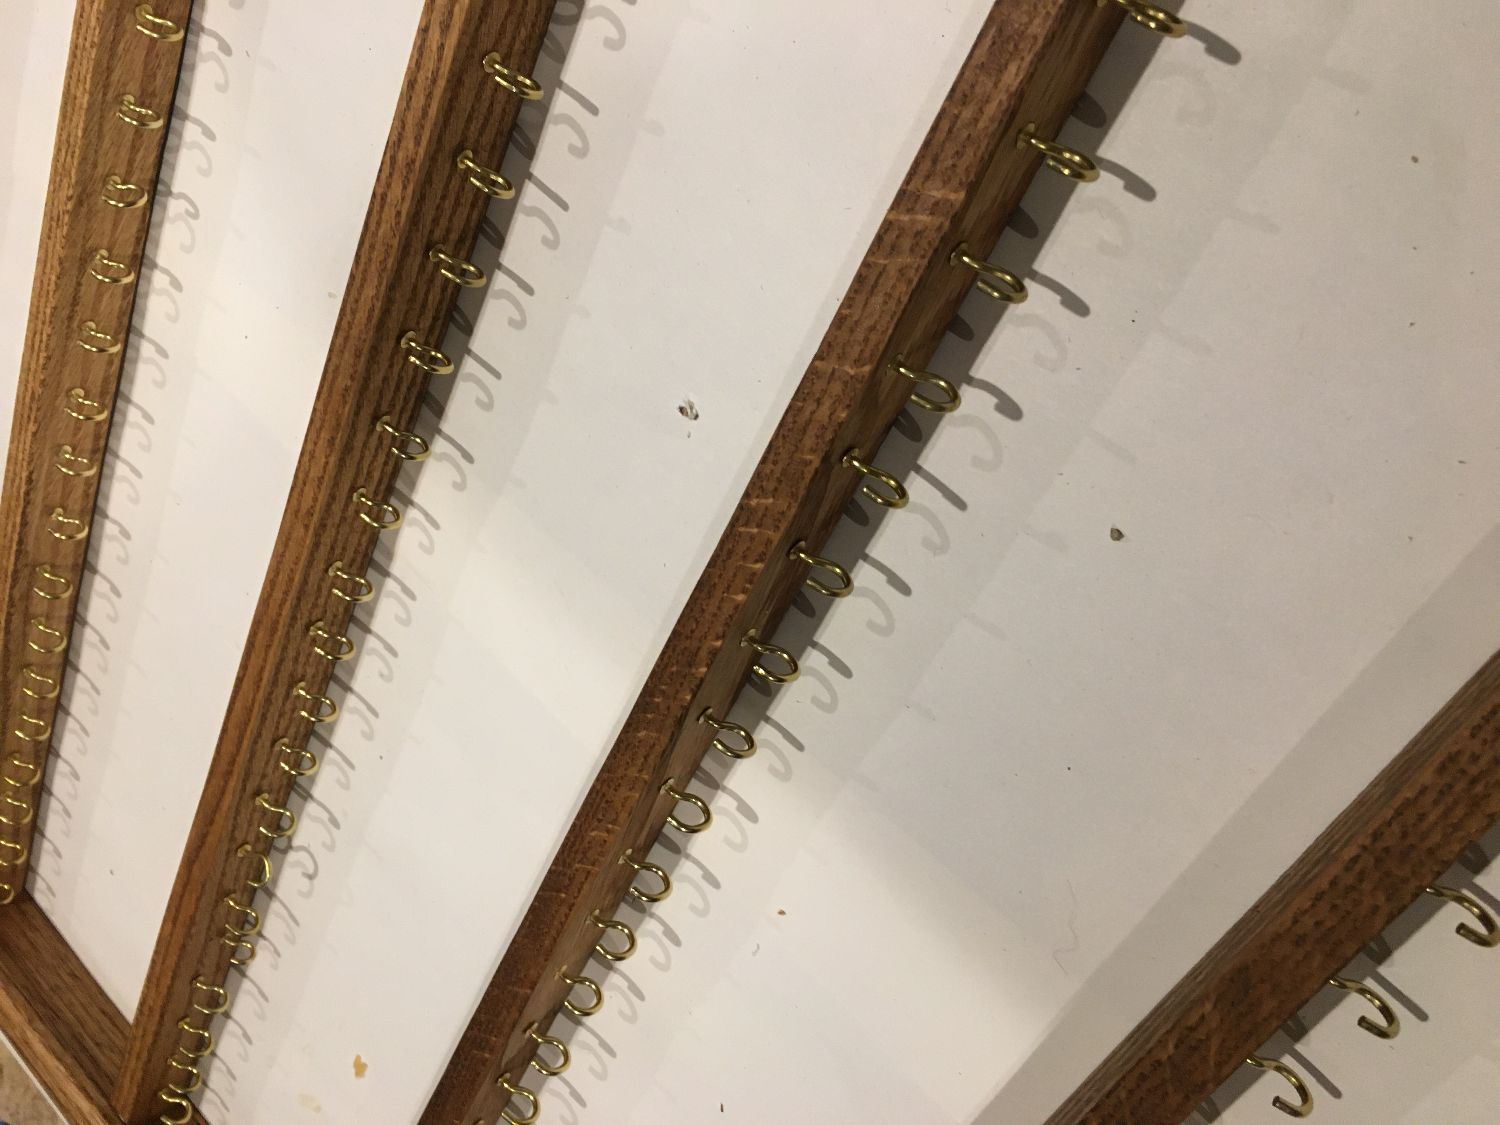
Next day, began putting the cup hooks in, only to have a few breaks from metal fatigue. Discovered they would all have to be carefully put in by hand. A chopstick made the perfect lever to turn them into the pre-drilled holes. Next time I’ll buy 100% brass hooks not brass plated ones. Live and learn.
Once all the cross bars and cup hooks were done, I put on the new backboard, added some wood glue and piled my lead diving weights on the back to hold it in place while the glue dried. Next day added hardware to hang it and put it up!
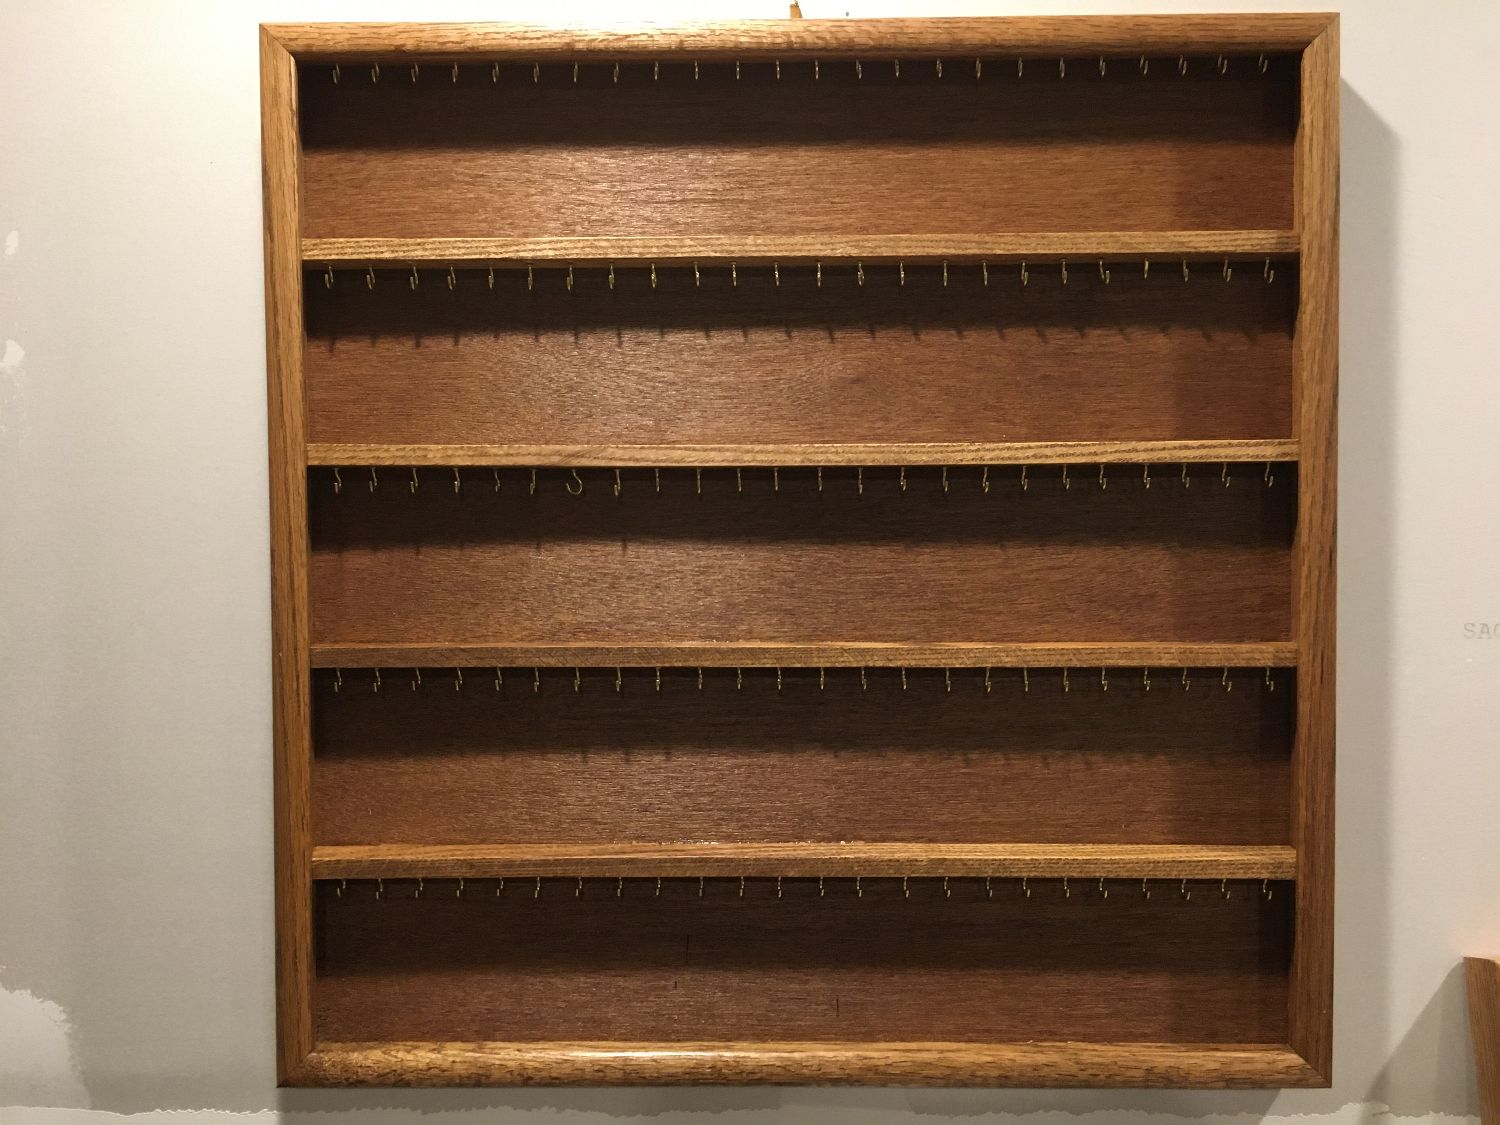
all done except felt feet on back
Now if I only had a few more whistles…
Final article notes:
I just added the felt feet and hung it up. The felt made it very slippery on the wall. Ended up changing to rubber feet so it doesn’t move if I get too much weight on one side of the shelf.
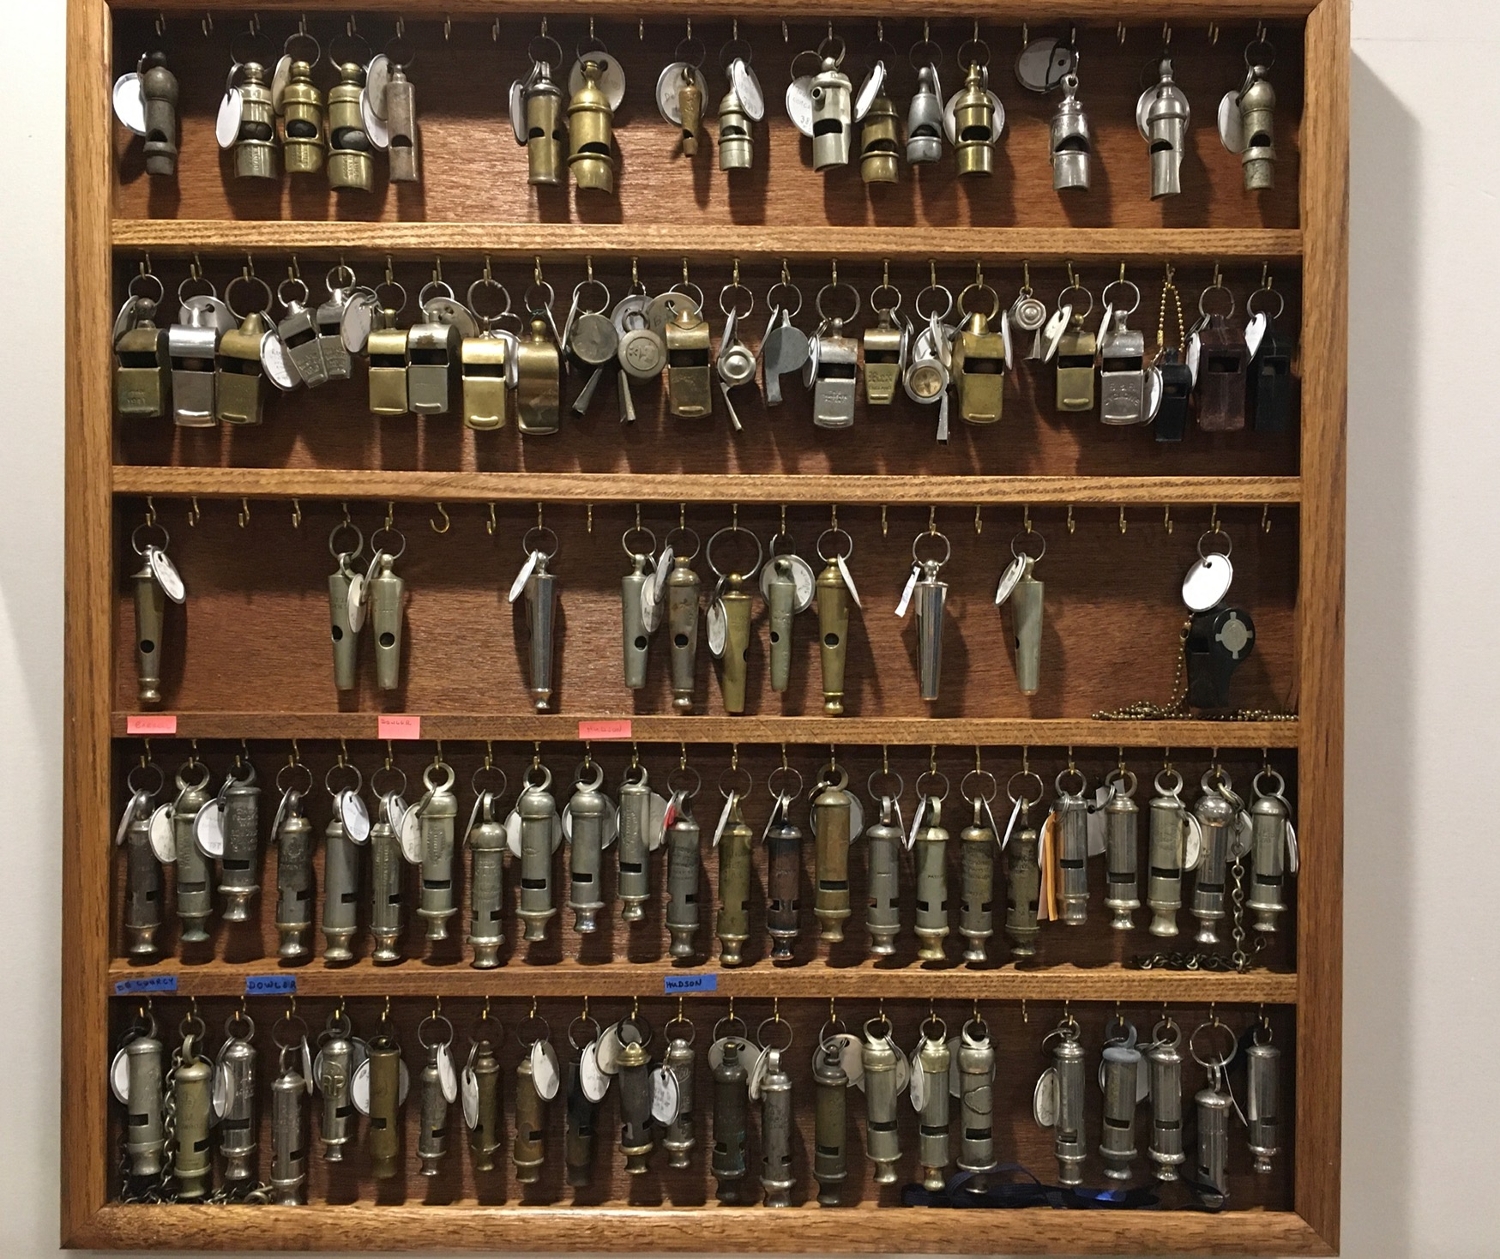
Not everyone jumps into collecting whistles, but some do !!! What is the lesson here ?? Plan out how you are going to display your collection. Of course, you want it to look good, but almost more importantly plan on expansion and how to reference what you have.
As you advance, you will want to organize what you have and that also takes ‘spacing’ which requires even more room.
Thanks to Lisa for this article !!!
Welcome to a new and serious collector from,
Posted April 5, 2020


 Users This Month : 1502
 Total views : 168709